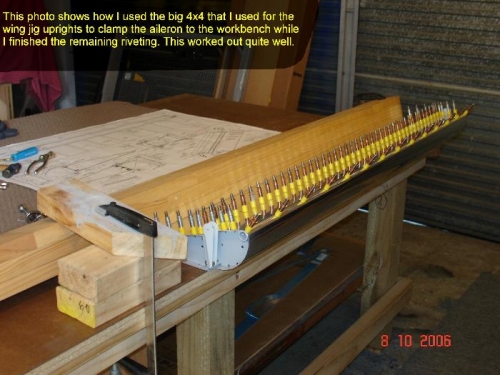
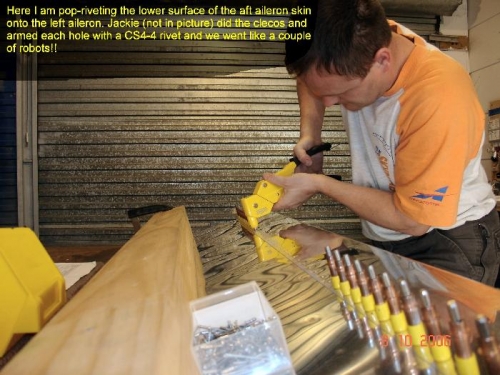
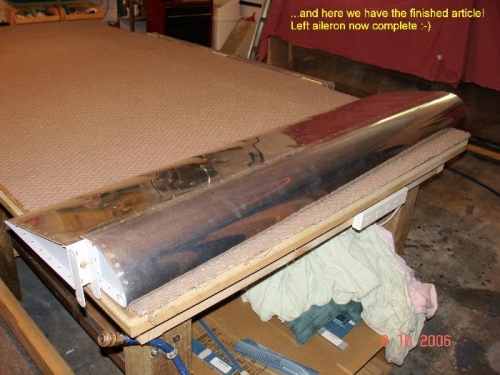
Second of two posts to show left aileron assembly. At the end of the last post we were riveting the top surface from underneath. Next job was to flip the aileron over and clamp it down to the workbench so it stayed flat. I used the big straight 4x4 from the wing jig to do this, and it worked out quite well. First I mixed up a small amount of PPG DP-40 epoxy primer and dipped a CS4-4 blind rivet in the primer before riveting the counterweight pipe to the leading edge skin. The rivets were pulled 'wet' and this should help prevent dissimilar metal corrosion between the galvanised pipe and aileron everything else (apparently). Then I went ahead and pretty much followed Vans assembly instructions. The only difference is that I help off final fitting on the hinge brackets until the riveting was done: if you follow the book of words exactly then you'll be removing them again to get to some of those rivets (as I found out on the first bracket). Then Jackie popped back in so I put her to work on the cleco pliers and rivets while doing the bottom skins: we went like a couple of robots with her removing clecos and putting in the rivet and me pulling them. And after all that: one completely assembled left aileron. Cool :-)