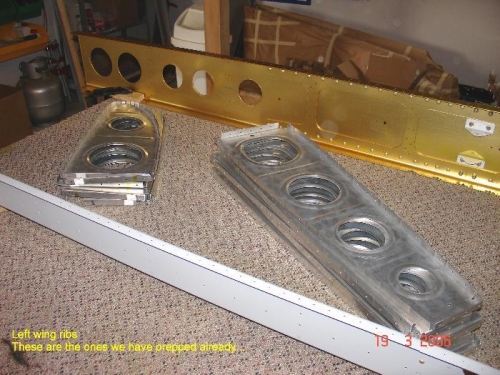
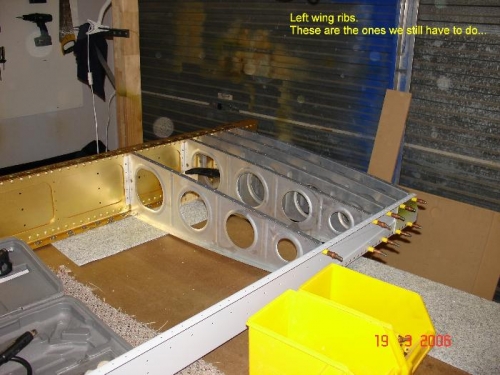
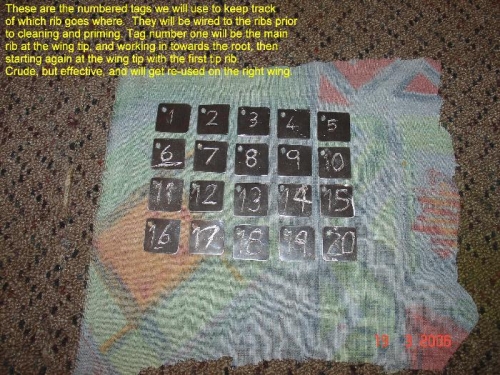
Yep, we're still at it! Damn, I can't believe it is taking so long. And sooooooo tedious as well. Made some good progress today though. Finished prepping the remaining tip ribs and only have more main ribs to go, which hopefully we'll knock out tomorrow evening. My prepping method is as follows: dremel or die grinder with a sanding wheel on the insides of the lightening holes. Then emery to smooth out any remaining burrs and radius the edges. Needle files get taken to all the little crooks and nannies to deburr those. Some of those tabs have some killer burrs on 'em! Maid edges have a run across the scotchbrite wheel before the whole emery thing again. Radius all the corners so there are no sharp edges anywhere. Bend the flanges to 90 degrees checking with a square to make sure. Finally, onto the flat bench top to flute 'em flat. Work around the rib a little at a time looking between the rib and the bench; the flute will 'draw' the rib towards the bench. Take it slow, and when there's no more daylight and the thing is flat, then we're done and onto the next one. Yep, this takes a while, and I have it all to look forward to for the right wing! Although we have been marking the ribs with marker pen, that will come off when we clean 'em up prior to priming. Our solution (gratuitously stolen from another builder!); little numbered tags that will get wired onto each rib during cleaning/priming (see the third picture).