
|

|
|
|
Jeff & Jackie's RV-8 Project
|
Date: 10-18-2006
|
Number of Hours: 0.00
|
Manual Reference: 7-11
|
Brief Description: Left flap, FL-406C bracket
|
|
Now the FL-406C was match drilled to the skin/end rib, but of course those had been previously drilled and dimpled #40 before they were opened to #30. This meant that I couldn't drill C to B yet since it would be sitting too high (won't make that mistake on the next flap!). So I disassembled the brackets and the rib, dimpled the rib and skin to 1/8" (for the CSK4-4 rivets) and countersunk the #30 holes in the bottom of the FL-406C bracket to take the dimples. I re-assembled everything, clamped the FL-406C bracket to the -B and then match drilled through the 3mm holes with a #30 drill one at a time cleco'ing as I went. Although I wasn't sure whether to do it now or not, I ran through the rearmost hole with a 1/4" drill as per the drawings. Actually, it says to do it after assembly, but is that after assembly at this point, or after riveted assembly? I wasn't sure so I drilled it now, so at least that hole will be deburred properly and primered. I can always run the drill through again later. Finally, I removed the complete FL-406x assembly from the flap and ran it across the scotchbright wheel so everything matched properly and I didn't have any sticky-out edges! And there we have it. the FL-406x brackets are now all done. All that remains now is to disassemble everthing, deburr edge-finish and then its ready for priming along with the right aileron skin & stiffeners. I'll try to get it done by the weekend, but I also have this other exam at the end of the month that really requires my attention.
|
|
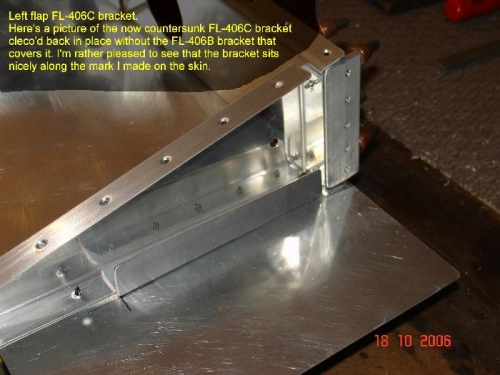
FL-406C cleco'd to rib/skin
|
|
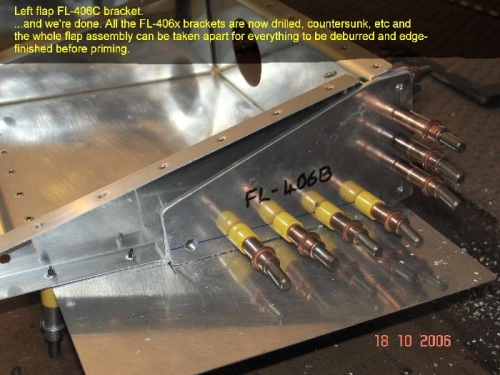
FL-406x brackets all drilled
|
|
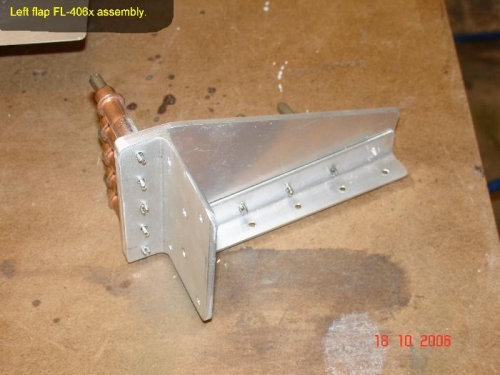
FL-406x assembly
|
|
|
|
|
|
|
|
|
Copyright © 2001-2024 Matronics. All Rights Reserved.
|