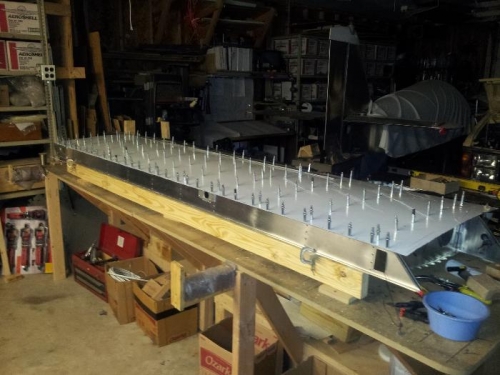
1) Here I have pilot drilled and clecoed the bottom aft skin. Next step is to up drill, clean up and revit in in place
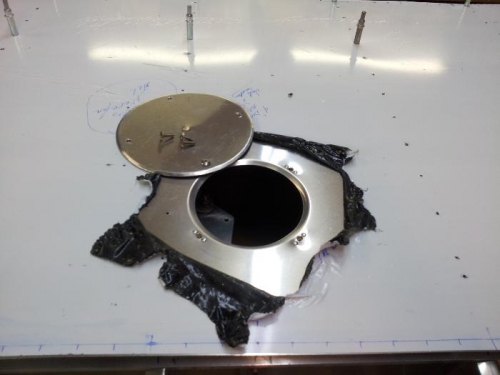
2) this is how my access hole turned out. What I did was to use the hole finishing device I used on the turtle deck formers and put the flang on the hole. The cover plate is larger that speced, and has maching screws to secure it. the cover plate was cut with a fly cutter set to 6 inches, if I remeber correctly. I closed the center fly cutter bit hole with a parge diameter revit. Worked for me!!
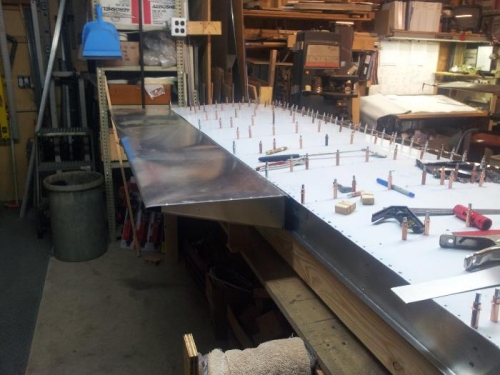
3) After up drilling, I decided to check how the ail and flaf was going to work, Seems to do well. The picture shows the ail. ballanced..for now. painting may/will change things a bit.
kAs one can guess there are a lot of hours between these pictures not shown with accompanying pictures. Mostly very mundane stuff happening. No need to waste more electrons than needed.