
|

|
|
|
JoeNelsens Web Site
|
Date: 5-24-2016
|
Number of Hours: 6.00
|
Manual Reference:
|
Brief Description: dirt, rods and crank
|
|
1) While I did clean all parts, this pix showing just one cleaning of the crank. Not visable here are the small bits of grinding debris inside the crank. It would have been pretty hard on the new bearings. Nothing big enough to have a part number on it, so maybe not quite disasterous! But still this stuff has no home here!
2) Cponnecting rods all cleaned and assembled ready to go. I did plasti=gauge these and found them to be about .0017, just a very small bit tight. spec, if I can remember that while I am inside typing this, is .018-.022 inches. I wont worry about it. I tried to do the mains but could not find a spec.
3) this is how I assembled the crank and rods. The board is as large as I couild fit in the work space, and serves as wide spaced legs to support the crank. When I did my 0-300 years ago, the whole case was assembled this way...with the crank vertical. turned out to be a good way, but I didnt want to take the time and build a viable stand. Besides the book showed uning an engine stand, so thats what I did.
|
|
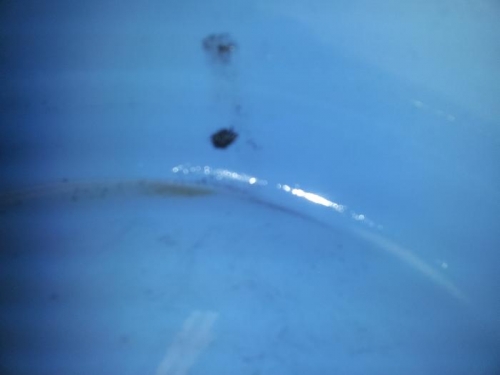
metal sahvings from crank
|
|
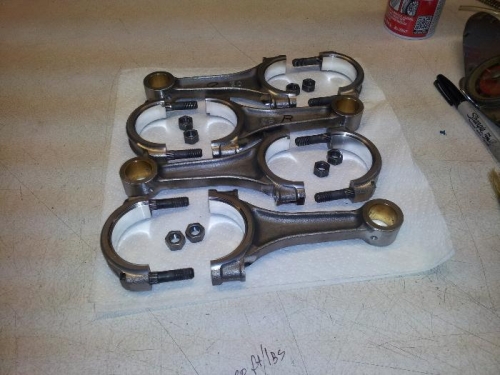
clean rods ready to go
|
|
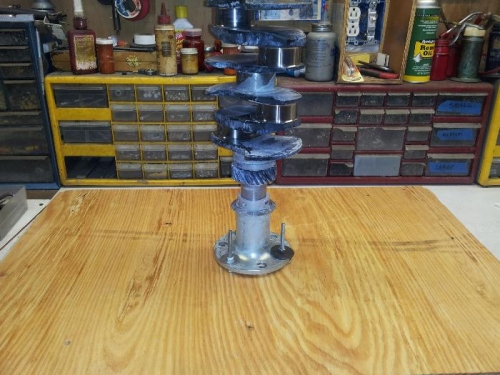
crank on stand
|
|
|
|
|
|
|
|
|
Copyright © 2001-2025 Matronics. All Rights Reserved.
|