After reading all the "horror" stories I was a little bit reluctant to start the bending of the longerons. After all it can be done within a few hours. BUT DON'T USE THE HAMMER METHOD!!!
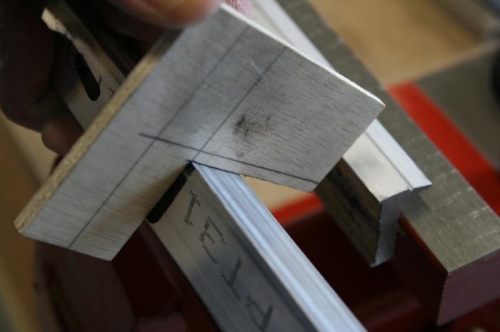
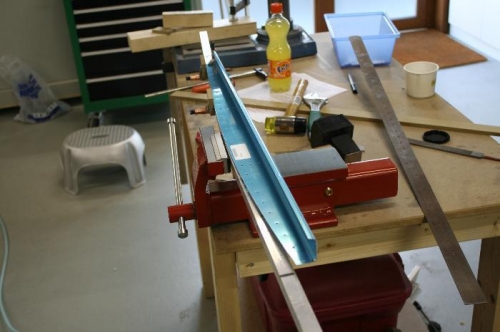
I first started with the "hammer" method and ended with some strange curves. That part is now at the end of the left longeron. After the weight saving trim it is hardly noticeable. Then I read Marty his blog that he used a water pipe coupling. I found something different at the department store. Outside diameter something around 25mm. It will leave some marks on the longeron. I used some duct tape for the second longeron. I used a cast iron vise and it broke after I almost completed the first longeron. Back to the store for a steel vise. The coupling works perfect and it takes about 2 to 3 passes to get it right to the 5.4 degree. Very good control with the vise. I took about 3/4 inch each time. Thereafter twisting the longeron with a crescent wrench until the longeron lays flat on the table. To bend the curve use the F-1234 as a template. Bend the curve every few inches. I used the method as mentioned in the manual; preload and strike the longeron with a soft faced hammer. The aft bend can be checked with two rulers. Distance to bend is 27/64' measured at the end. I did the optional trim for weight savings. After completion they fell right on their place (see previous post).