18-02 step 1 - Make the Actuation Brackets 18-02 step 2 - Make the Pivot Brackets 18-03 step 1 till 5 - Left Aileron Counterbalance
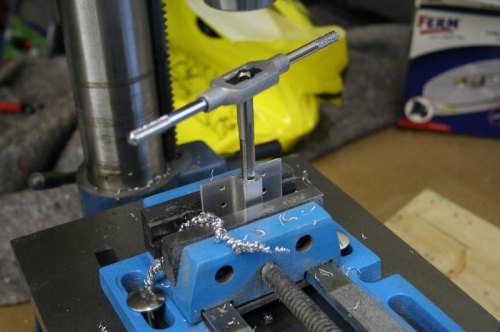
Started with the Actuation Brackets. Most is done with the bandsaw. A 3/16 hole must be drilled in the Bracket. I don't have one and the 3/16 drill is not mentioned in the tool list. Rough cut is done, need to finish the brackets. Pivot Brackets are drilled and tapped. After drilling with a 11/32 and tapping you end up with some "play" when you turn in the ball bearing rods. A 21/64 drill gives a better result. Brackets still needs to be polished. I first marked the skinholes on the left aileron counterbalance with a sharpie. Thereafter I unclecoed the assembly and prepuched the holes. Drilled the holes with a #40 and thereafter with a #30 drill. Drilled out the rivets from step 3 (parts are not yet primed).