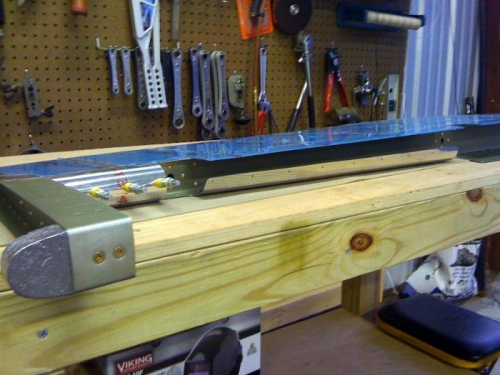
Brief Description: Completed Right Elevator Leading Edge bend
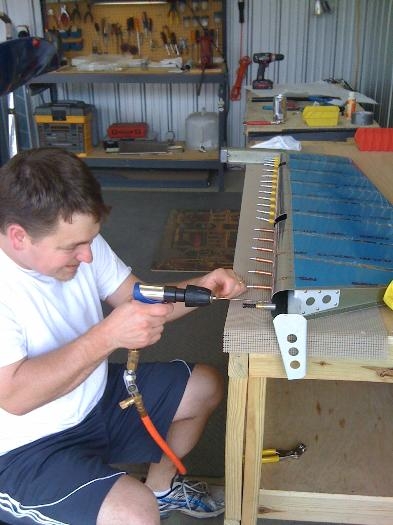
I still need a picture to document completion of the Right Elevator trailing edge bend, but it's done! Asked Jeremy if he could stop by for an hour to help out. Turned out he was there almost three hours. Sure did make the job a LOT easier with a second set of hands.
We ended up using 3/4" black pipe and lots of sticky tape to complete this task. The only hard part was getting the two edges to mate flush before riveting. We were able to do this using a long screwdriver to push the pieces together from behind. A friend suggested we use a piece of pvc pipe that was notched along its length and to hold that secure from behind. Might need a picture to help explain that one.
Lessons learned: Use PVC instead of black pipe. Much easier to cut & drill. Also, using the Cleveland edge bending tool helped a great deal.
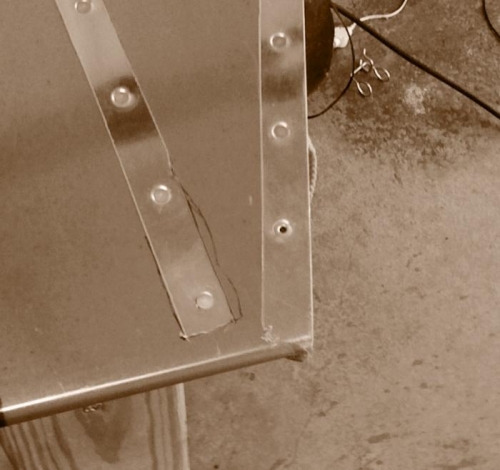
Trailing Edge Rivets: Well...I tried the suggestions on Vansairforce about the various ways to buck these particular rivets. Nothing worked in my case. Not sure what I'm doing wrong. In any case, I finally gave up and decided to use a couple of pulled rivets in this case. After seeing that RV-12 at Oshkosh with these same rivets filled with epoxy, I don't believe anyone will notice the difference if I fill'em. That's my plan anyway.