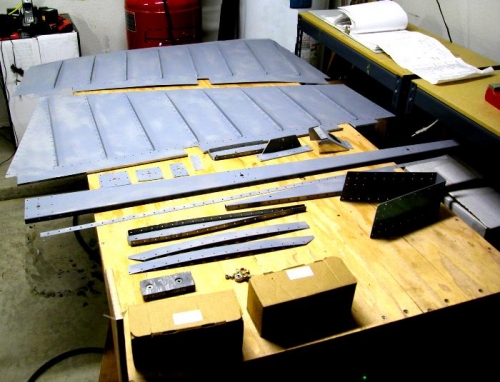
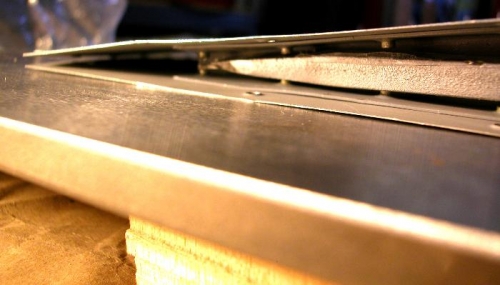
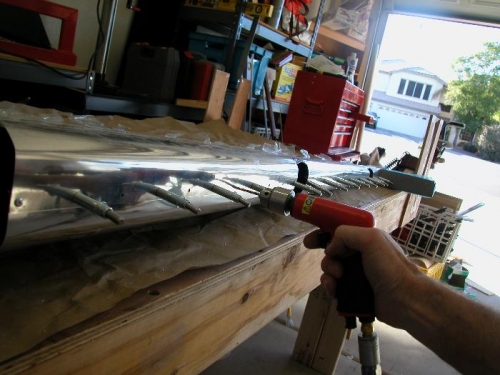
Riveting the Rudder.I coated all of the insides sides of the all parts using 988 and cleaner. I coated outside in the afternoon warm sun. The breather I used worked well and I felt safe doing things this way.The rivets that could be reached by the squeez tool were set easily.Solid rivets were set in the tight wedge at the top using a screw driver blade and the back riveting plate. I spent 30 min. trying differnt ways to rivet and nothing seemed to work. Using the screwdriver blade wedged between the two rivets allowed both rivets to be set at once. Worked great.Bending the leading edge was a bit hard as well. I used the method suggested in the book at first, but then worked the metal by hand to make the final shape. The manual suggests using a pipe and tape it to edge. I used platic water piping, at a fraction of the cost of metal. The tape worked good except on the top metal leading edge tab. The pipe was twisted using Vise-grip as far as possible and the rest was sweezed by hand after. My hand are still a bit tired.The shape was adjusted so the edges layed flat against each other. The holes nearly lined up and clecoed, drilled and blind riveted.