
|

|
|
|
Jim's Web Site
|
Date: 12-1-2013
|
Number of Hours: 6.50
|
Manual Reference:
|
Brief Description:
|
|
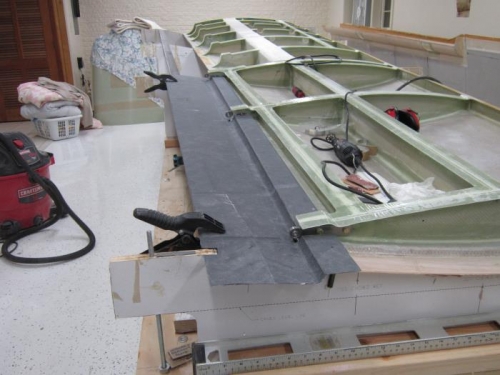
Most of this day was spent straightening the trailing edge. Not easy, for sure. I started out clamping the edge to the angle iron support, and heating with a heat gun. No matter what combination of techniques I tried, no luck. Finally I figured out that the angle iron was acting like a great big heat sink. But before I figured that out, I scorched and popped the skin in a couple of places, so had to figure out a better way. That way turned out to be removing the wing from the cradles and propping it up, away from the angle iron, with 4X4 cribs. Then I got a straight piece of wood to clamp the edge to. The method that finally worked pretty well was to clamp the wood on the outside of the skin, at the rib locations, with enough shims to space it about 1/8 inch below horizontal. That allowed overbending the skin, after heating, to accommodate the spring back after cooling. The best heating method I found was to heat a small area, no more than a few inches long, and then clamp that part down, moving along to the next few inches. This was a real learning curve day.
When I got the trailing edge in the aileron area pretty well flat, I re-mounted the wing and began fitting the upper aileron skin. It quickly became evident that, while flat, the trailing edge was not straight enough to provide an even gap. So I de-mounted the skin again, and trued up the trailing edge. That allowed me to mount the aileron skin with a pretty good uniform gap of .05 inches, which is right at the thickness of a popsicle stick.
|
|
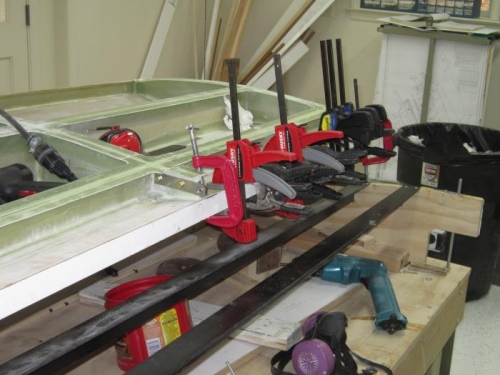
Trying to straighten trailing edge
|
|
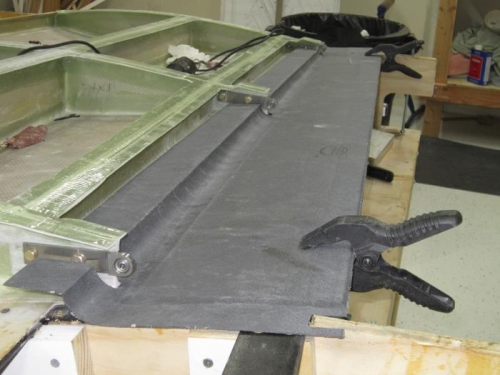
Aileron skin fitted
|
|
|
|
|
|
|
|
|
|
|
Copyright © 2001-2024 Matronics. All Rights Reserved.
|