
|

|
|
|
Jim's Web Site
|
Date: 11-29-2013
|
Number of Hours: 3.90
|
Manual Reference:
|
Brief Description:
|
|
When I'm in the shop, I listen to classic rock on Sirius. One song I hear quite frequently sums up my mood today. The Allman Brothers "Tied to the Whippin Post." Sometimes I feel like I'm dyin'. Nothing seems to be going smoothly, but what's new? The flap hinge access holes are indeed small, and I have learned well from that mistake. My hands are small enough to get inside, but just so. Of course I don't have all the correct nutplates, so that will have to wait till next week.
The pictures below ahow the access holes and panels, roughed in. Image 2 is just with the screws placed in, so they are proud of the surface. Also, I will add some micro at the borders to take up the gap left by the cutting out of the panels. All-in-all, inspection panels are a pain in the butt. Long run for a short slide.
So I started mounting the aileron bearing blocks. The outboard block went on with only moderate fiddling. But when I went to fit the inboard block, the capstrip reinforcing was not even with the the reinforcing between the upper skin and the rib. So the block did not have an even base to fit to. The fix I chose was to add a small piece of 3 bid to the rib, bringing the mounting surface even, or at least I hope even. I'll see after cure.
|
|
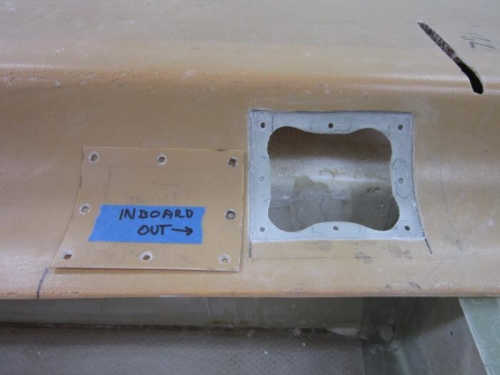
Inboard flap hing access hole and panel.
|
|
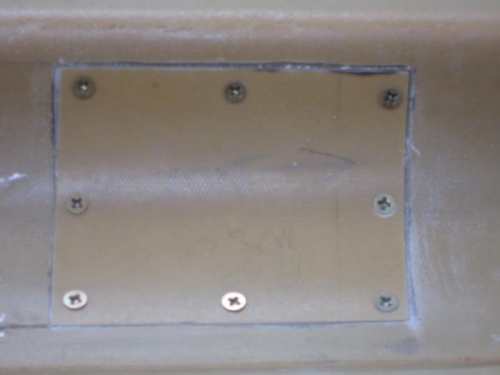
Outboard flap hinge access panel- roughed in
|
|
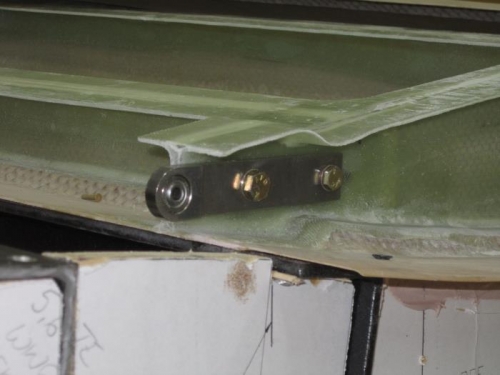
Outboard aileron hinge bolck mounted
|
|
|
|
|
|
|
|
|
Copyright © 2001-2024 Matronics. All Rights Reserved.
|