
|

|
|
|
Jim's Web Site
|
Date: 12-19-2012
|
Number of Hours: 3.00
|
Manual Reference:
|
Brief Description:
|
|
The next tasks are essentially bonding and fitting the wing ribs. Since the patterns are not exact, the manual advises to cut them large, then sand down to fit, checking the fit with the lower skin and cradles in place. When complete, the book says, the lower skin should fit with no interference, and the cradles should mate also without forcing. Of course, if you try bonding and fitting all ribs at once, like the manual implies, I just don't believe that close fitting is possible. So I've given the process a lot of thought, and came up with a couple of ideas. First, I'm going to fit the ribs one at a time, starting with the ribs nearest to the center of the wing. That way I can visualize the fit of the rib relative to the lower wing skin, then trim to fit. The problem with that is the distance from the end of the wing to the rib, with associated difficulty in seeing the fit. To help with this, I fixed a webcam to a long board, lighted the area, and was able to see pretty well with the computer.
After working out the process for a while, it was time to place duct tape on those parts of the lower skin that will intersect the ribs and spars, where the capstrips are formed. That is a tedious job, especially because it takes three layers to do the job. After marking the location of the ribs and spars, I placed the first layer of tape, That was about all the time I could muster today.
|
|
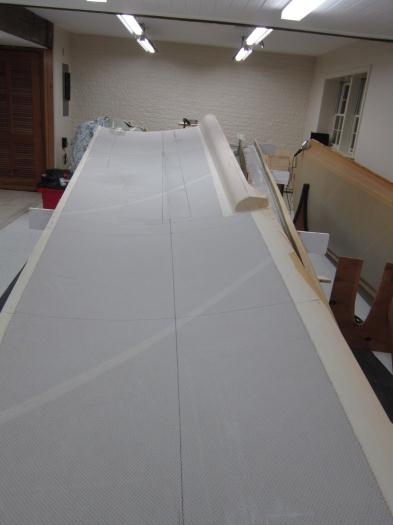
Spars and ribs marked
|
|
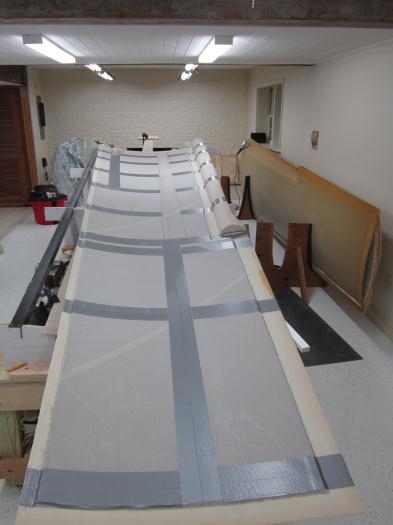
First layer of duct tape
|
|
|
|
|
|
|
|
|
Copyright © 2001-2024 Matronics. All Rights Reserved.
|