
|

|
|
|
Jim's Web Site
|
Date: 5-19-2012
|
Number of Hours: 3.60
|
Manual Reference:
|
Brief Description: Capstrip construction
|
|
Today I popped the upper skin off the right elevator, after yesterday's micro. The release tape (shipping tape) worked as intended, so it was really no problem to separate the skin from the ribs and spar. What was left was for the most part a lot of squeeze out, as in most places the ribs and spar fit very well to the skin.
Next step was to remove the squeeze out. This process was pretty easy, using the oscillating tool, first with the flush cutting saw, then 60 grit triangular sandpaper. The result is shown the image 3 below. This is the surface that locates the actual capstrips, which begin next.
This afternoon Larry Davidson, an EAA technical counselor, and Dave Rowe, a composite builder, came by to give my work some close scrutiny. We had a great visit, and I got some good tips, which I appreciate greatlly. They also did give me some much needed confidence, as it appears that my work so far is within normal limits.
After Larry and Dave left, I applied micro and flox to the left elevator ribs and spar, then fitted the upper skin to the lower, and weighed down the whole assembly. May not get much done tomorrow, for I'm on call all night tonight. That usually results in a groggy day after.
|
|
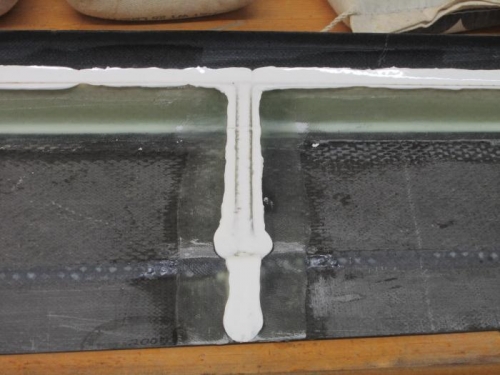
Rib micro after removing upper skin
|
|
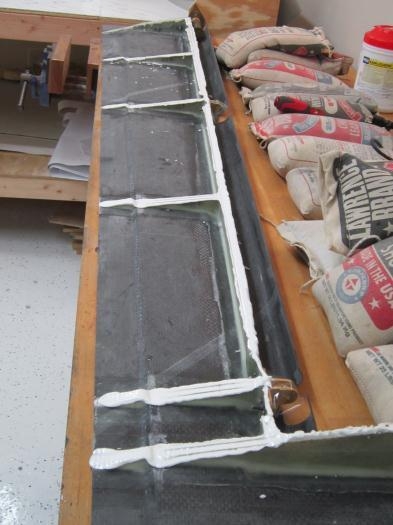
Rib micro after removing upper skin
|
|
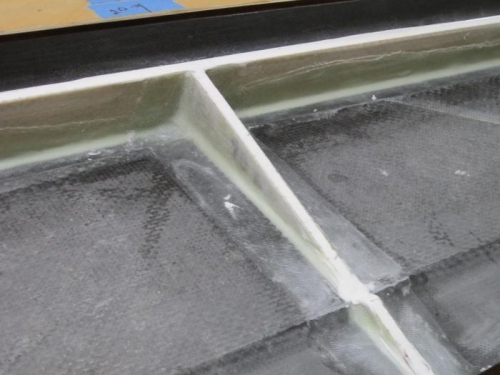
Rib micro after trimming
|
|
|
|
|
|
|
|
|
Copyright © 2001-2024 Matronics. All Rights Reserved.
|