
|

|
|
|
Jim's Web Site
< Previous Log Entry
Next Log Entry >
|
Date: 6-9-2012
|
Number of Hours: 3.70
|
Manual Reference:
|
Brief Description: Inspectiion panel and weight mold
|
|
Began today's work by fitting the trim tab inspection panel to the lower skin, after last night's flox. It toBut it did come out ok after a bit ok a bit to serparate the panel from the new flox, despite the use of releast tape, but it did come out after a bit. Next step was to drill for and install the nutplates. This was a fiddle, for the tight tolerances did not allow for the rivet squeezer to contact the rivets well. I'll have to enlist the aid of a friend with more specialized squeezing gear for this job.
Next I prepared the mounting panel for the trim tab servo, and floxed in the screws/studs. That was a lot more straightforward.
Final task for the day was to revisit the lead counterweight mold. I decided that the plaster of Paris mold made the other day could not be used to make the female mold for pouring lead, because of the non-uniform shape of the mold. The male mold has to be able to be extracted from the sand or plaster of Paris used to make the female mold. The lips caused by the cores would prevent removal of the male mold. So what I did was use the plaster mold as a basic template, and made a wooden male mold for the right side. Because of tapering, the right mold will not fit the left, so tomorrow I'll complete the left weight mold. After that I'll coat each with either epoxy or a heavy wax coat, so that the mold can be removed either from plaster or sand.
|
|
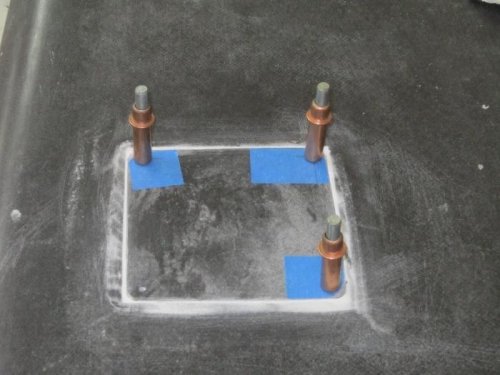
Trim servo inspection panel
|
|
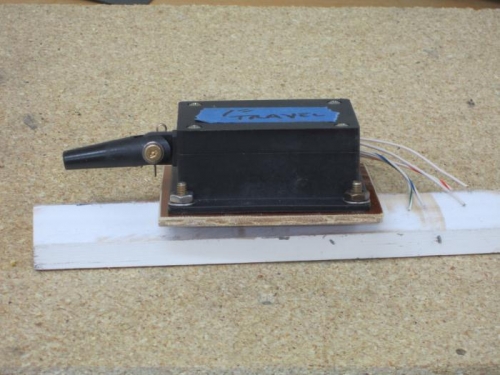
Servo phenolic mounting pad
|
|

Right elevator weight mold
|
|
< Previous Log Entry
Next Log Entry >
|
|
|
|
|
|
|
Copyright © 2001-2024 Matronics. All Rights Reserved.
|