
|
|
Jerrys Web Site
|
Date: 11-22-2011
|
Number of Hours: 2.50
|
Manual Reference:
|
Brief Description: Flight Controls
|
|
This evening, I pulled all the parts for the control assembly in the wing. First step was to drill 8 holes in a round ring. I measured them out (7/8") on a piece of paper, taped it to the ring, center punched then drilled on the drill press. On an earlier project, I welded two pieces of angle iron together -- worked well to hold the ring. Then, I fitted a plug into the end of the tube, installed a 5000-4 nut plate with flush rivets, then bolted the control arm on and drilled out those holes to #11. The final step was to match drill the ring to the tube. Today, I'll disaaemble, debur, and begin to work on the mounting brackets.
|
|
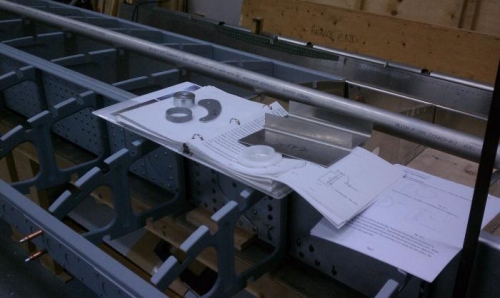
Parts Identified
|
|

Paper strip to divide into 8 sections
|
|
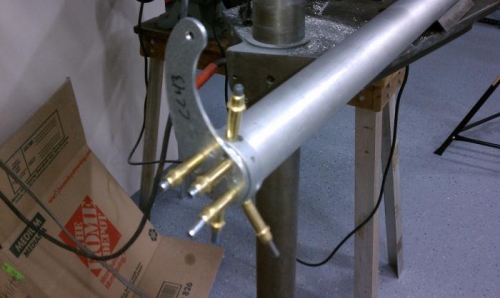
Cleco'd Assembly
|
|
|
|
|
|
|
|
|
Copyright © 2001-2024 Matronics. All Rights Reserved.
|