
|

|
|
|
Building Integrity
|
Date: 2-13-2015
|
Number of Hours: 3.00
|
Manual Reference: Section 2
|
Brief Description: New Oil Cooler Mount
|
|
Well, if there's one thing for sure, everyone has been able to cool their oil when using a large scoop. So Far I've only fed this beast the equivalent of 4 sq in. Many have said that it requires at least a 7.5 sq in. opening. Well, knowing that I'm still in the high 250 range at full throttle, I'm going to go overboard and then scale it down when I have the time and warm weather is coming so I have to get something that will at least work for now.
I used a 6 ply layup that I had laying around as scrap, and chose to install 4 nutplates onto the cooler itself and through the fiberglass plate. The plate allows me to create a flat sealed surface on the cooler face. I also can now focus on sealing it up around the edges with as much silicone as needed. Later I will add some weather stripping to the border of the plate that will create a nice seal to the cowling.
I added a skim coat of west systems to the bottom of the plate and covered the rivet heads with flox. Every time the bottom cowl comes off, so does this contraption so the construction has to be built Ford tough. :)
Flight testing will involve a flush belly to begin, then the addition of a Reverse scoop, and finally a forward facing scoop. I would love to create a low pressure area behind the cooler and "pull" heat out vs shove it in, but it may not be enough. However, the scoop should be fairly simple to make until a Nice "looking" one can be made in it's place.
Finally, I put the cooler in the oven for a nice 170 degree cure for 1.5hrs. This should minimize the affects of post cure AFTER install. BTW, Red RTV is on it's way, but the white is good to 350.
|
|
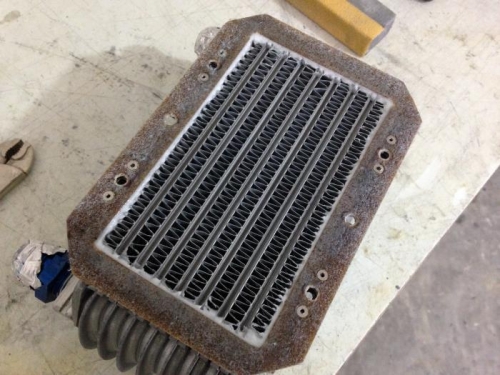
Nutplates and Silicone in
|
|
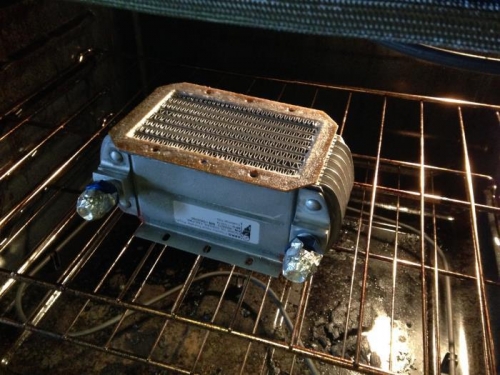
170 for 1.5hrs should do it.
|
|
|
|
|
|
|
|
|
Copyright © 2001-2024 Matronics. All Rights Reserved.
|