Brief Description: Top Cowling removed and Glassed up
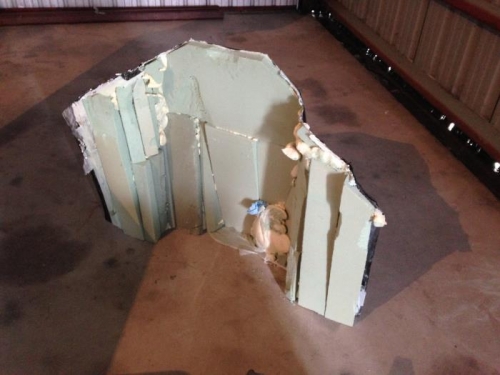
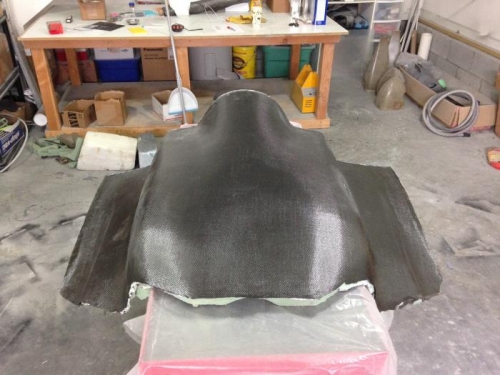
As soon as I attempted to remove the 1 PLY Carbon Cowling I realized that "this thing is FLIMSY!!!" There was no way I would be able to layup any other plies without utilizing the Mold I made underneath, so I removed it along with the cowling in 1 giant section. I now had a portable cowling and mold which meant I could do the additional glass work at home! YES!! As soon as I arrived, the convenience of a bathroom, refrigerator, and climate control put a REALLY big smile on my face. I was now ready for work. I first sanded the surface of the Carbon, then covered the mold with a sheet of extremely thin plastic for a mold release. I took Joe C's advise in re-enforcing the outside edges with 3" Carbon strips alternating between layups and it turned out to be fantastic advise! Thanks Joe! I didn't, however, add re-enforcements to the leading edge because a 5 ply lip is going to be added later which will serve this purpose. The layup schedule so far is as follows: 1. Carbon all over 2. 3" strips both sides 3. Carbon all over 4. 3" strips both sides 5. Glass BID all over This leaves me with 5 plies on the border and 3 plies everywhere else which I've been told is enough, however, 1 more ply of Carbon may be added underneath if neccessary. Note that I was VERY careful to use a MINIMUM amount of resin today which took a lot of time to wet out evenly.