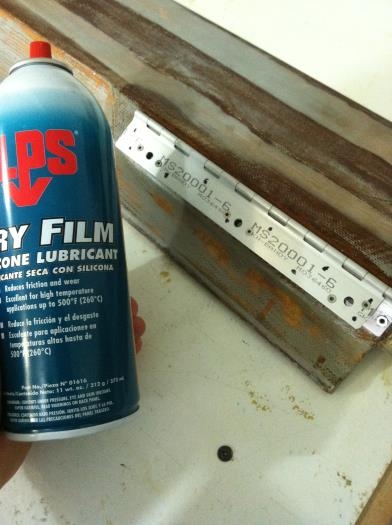
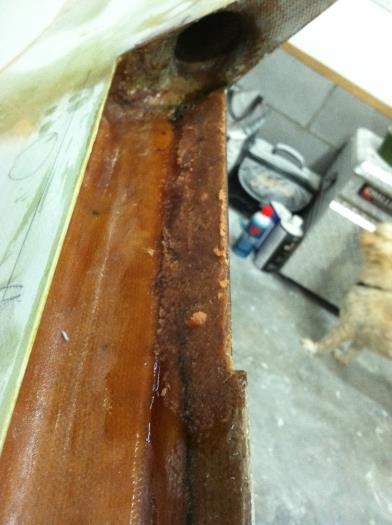
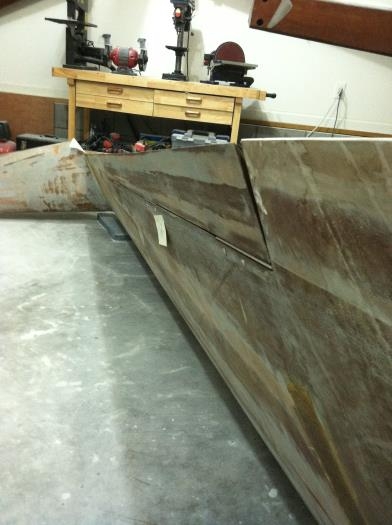
There's nothing better than German precision in my book. Next to zero tollerances on everything puts a huge smile on my face and that was the goal in replacing all the hinges. After getting the aileron side of the hinge flush with the skin I was after the wing to accomplish the same thing. I took the wing hinge half and pressed it up against the trailing edge and checked for flushness. Is that a word?, maybe it's flushiness... no that's worse. Anyway, I sanded down what I needed and noticed on a couple that there were slight low spots. This means that the hinge half would be sitting on peaks and valleys of the skin. NOT GERMAN PRECISION. SOooooo, I coated every part of every hinge with silicone lube including the hinge pin and laid up a bed of flox under each hinge half. I then screwed the hinges in place, mashing down on the flox bed and will wait for cure to remove the aileron. This will create a perfectly flat matched surface for the hinge half. Also I was able to now get the wing/aileron transition pretty flush as well. I can see a few areas that will need fill and sand to finesse the transition, but this will be easy. My main concern right now is that the aileron was built light but doesn't balance. It took .28lbs on the leading edge to barely get things to balance. Now I plan on balancing it top skin up like others recommend in order to compensate for adding paint down the road, but this means quite a bit of lead tape. I ordered 36 yards of the stuff 1/2" wide and I'm predicting that after filler, I'll need 4 strips of it to solve the problem. The good news is as long as I'm under 6lbs I'll ok. Crossing my fingers...right now I'm 5.25lbs which aint bad at all.