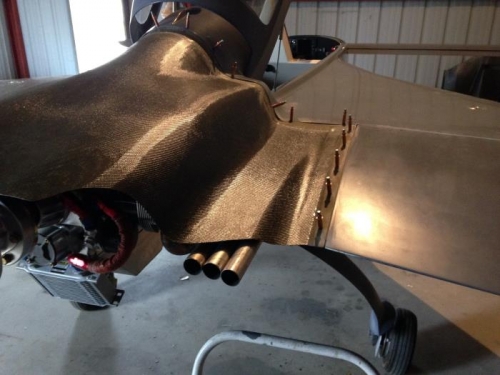
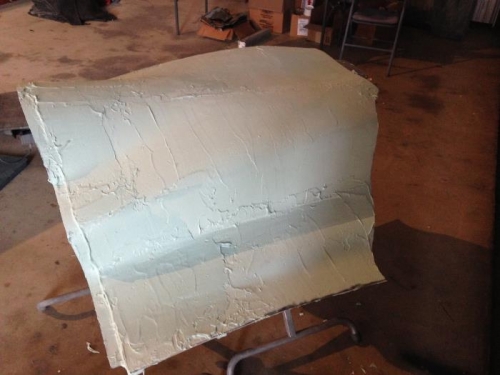
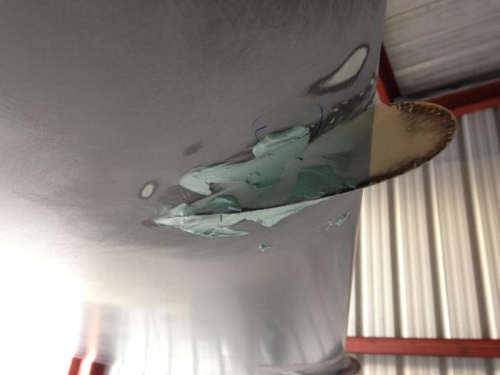
The top cowling stiffener worked REALLY well for only being 2 plies. I clecoed the top cowling up and then slowing removed each one, drilling out a hole to receive the #8 screws. After de-buring all the holes and prepping the glass, I added my first round of Z-grip Filler. This will cure overnight in prep for sanding tomorrow. As I had left over filler, I ran around the fuselage filling in small areas that needed it. The second task was to drill out all the holes on the lower cowling as well, however when I clecoed it up, I noticed that the stiffener wasn't quite enough and the cowl flexed specifically too much in one area where the stiffener wasn't. I went ahead and made a new stiffener with the same 2 plies as the others. this job went fairly fast as I had already learned all the techniques. Temps tonight should be good enough that I can work on the lower cowling tomorrow, hopefully getting it all the way through filler as well. I know that Thursday I will be at home awaiting the arrival of my prop so I'm hoping I can be spraying primer on these cowls in the garage while I wait. It all depends on how much work it takes to get this flush with the fuselage. I'm thinking I will at least be able to start priming the top one. Either way, as soon as that prop arrives, I WILL be running up the engine and hoping for AT LEAST 2500rpm. Otherwise I'll have to wait for yet ANOTHER prop. Come on HP, I need ya!