
|

|
|
|
Building Integrity
|
Date: 8-20-2014
|
Number of Hours: 4.00
|
Manual Reference: ch 25
|
Brief Description: Delam filler and intake angles
|
|
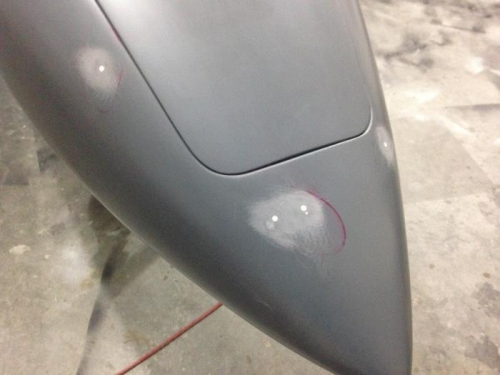
So, since I decided to break out the Z-Grip and add filler to the intake lips, I thought it would be an opportune time to tackle the delam repairs as well. I took a razor blade to the inside of the delam holes to scuff the epoxy, then sanded them and drenched em in acetone. Ready for BOND! I went around adding filler to each hole and then the intake lips. After contouring everything I am beginning to realize that if I don't spray this fuselage again with Primer, it's gonna be real ugly on that first flight. Instead of finishing that up in the garage, I'm going to save it for the very last thing I do before she flies. That way I can mount the wings and cowling, sand every line flush and spend 2 days REALLY bringing it all together with Primer. Yes it will mean taping it off and a lot of Prep work, but since it will be flying in this primer for about a year, I want it to look good. PLUS it gives me ONE more chance to tackle small imperfections...AGAIN.
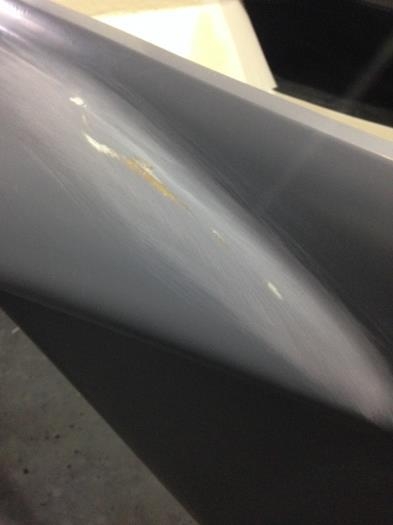
The one thing that really set the "prime it all again" Idea into motion was a long line of delams on top of the right Longeron. There is no way to fix it other than cutting out the glass, filling, sanding and priming 1 more time. Again, after all the abuse this fuse is taking for the engine and avionics install, that last fresh coat of primer will look REALLY good. I will most likely block sand the entire topside of the fuse prior to primer. I've seen low spots that will eventually have to be dealt with anyways. No big deal.
|
|
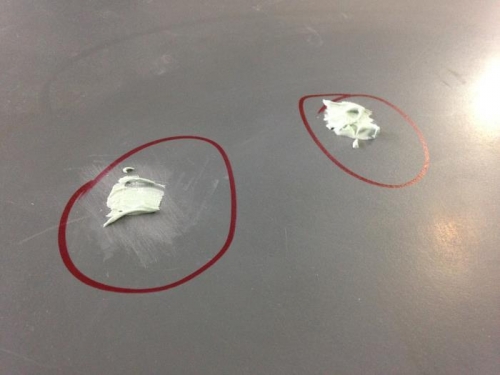
Delam filler
|
|
sanded down
|
|
beginning to contour rough areas
|
|
|
|
|
|
|
|
|
Copyright © 2001-2024 Matronics. All Rights Reserved.
|