
|

|
|
|
Building Integrity
|
Date: 6-26-2014
|
Number of Hours: 8.00
|
Manual Reference: ch 25
|
Brief Description: Final primer sanded and interior prepped
|
|
Let me get 2 things off my chest right away. First, NEVER use duct tape applied to paint. The gooey back crap that it leaves behind is a NIGHTMARE to remove. In fact the only thing that works is HARD sanding or Xylene. Problem is that Xylene removes the paint as well. This meant that I had to basically sand down the finished on every part that had duct tape residue. Lesson learned. This means I'll need another round of hammered before top coat painting can be applied.l However, the good thing about this, is that since I'm adding hammered, I will take the opportunity to fill little imperfections I found today and really get the interior squared away. No bid deal.
I also REALLY took my time on the fuel cap access holes. Tape has been on these puppies now for at least 6 months and it had Many layers of stuff on top. Last thing I want is crud falling into the tank. I used a razor to cut out the tape, while carefully pulling every piece away from the hole. I then added a new piece of tape covering the hole, lower than the paint line. I then razored the edge removing primer, filler, and skim coat crap. Next, I took the 3000 grit pad and gave the primer a nice feathered edge to avoid chipping. finally, I removed the new tape, cleaned it up and installed the fuel caps. I had to tighten the nut on the cap in order to get a tighter seal which requires more muscle to open, but I prefer that. No flying fuel caps!
Tomorrow I will be finalizing all interior prep work in hopes to get at least the Satin Black applied. We'll see :)
|
|
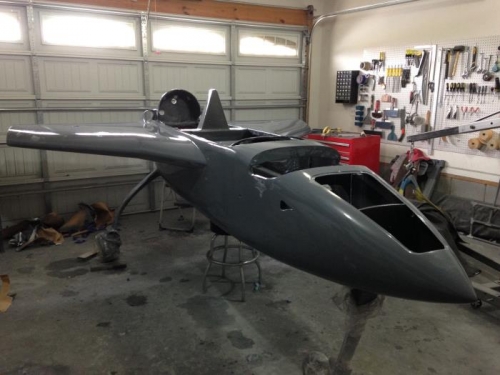
Wet sanded to 3000 grit
|
|
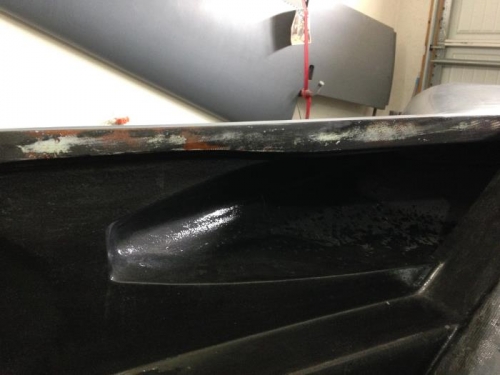
Red Scotchbrite on the interior
|
|
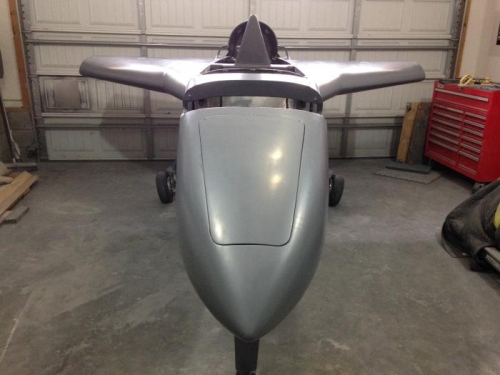
Cleaned up and lookin good
|
|
|
|
|
|
|
|
|
Copyright © 2001-2024 Matronics. All Rights Reserved.
|