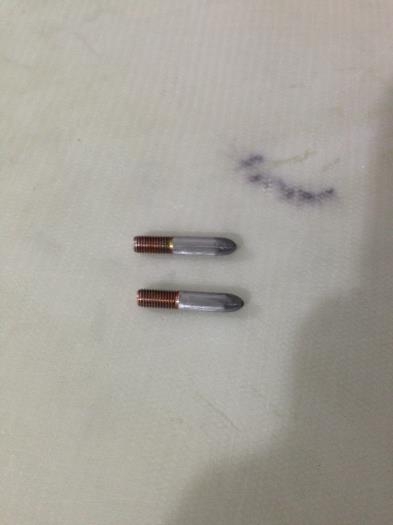
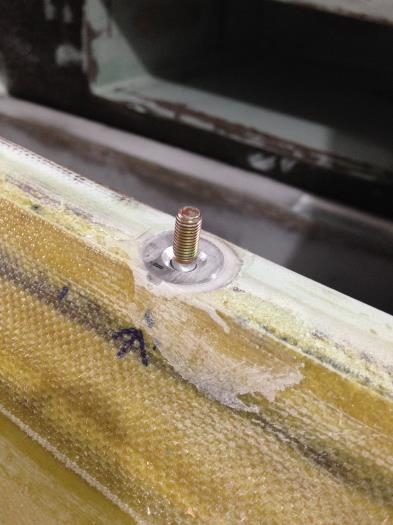
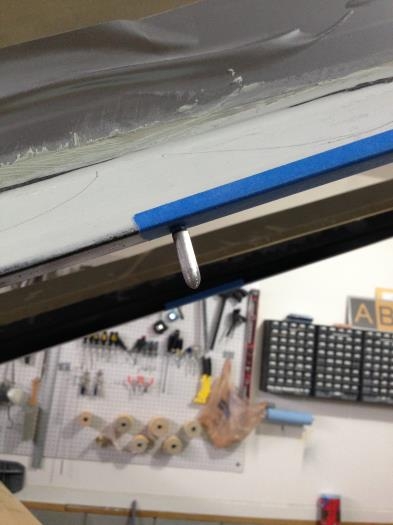
Today's goal was to install all latch hardware with 5 min flox in prep for a much wetter flox that will later be added using EZ Poxy. I went ahead and cut the heads off of 2 an4 bolts, rounded the ends and left a section of threaded area for bonding inside of the canopy frame. I also accounted for the expansion that I saw last summer on a really hot day. I wanted to make sure that the canopy pins stay inside the receiver at all times. I placed the pins inside both receivers, and drilled a 1/4" hole on both sides of the canopy rails. I was pretty much dead on so an oversized hole wasn't needed and when floxing upside down this helps. I cleared out the foam inside the canopy rails and pressed in some 5 minute flox. I also drilled a small hole ABOVE the rail to allow venting and an access to add more flox later to ensure the entire cavity is full. Moving quickly I jumped inside the cockpit, closed and latched the canopy while the flox set up. ALL is well.
Next was the latch pins to secure the latches and offer a partially open canopy position for taxi. I used the same process here to mark my holes, but found I could use a CLECO with the tape to hold the entire assembly in place during cure. When finished, a locking ball pin will slide inside the assembly for both taxi and in flight security. Making the parts took some time because I wanted a polished and precision made part so today was a solid 7 hours for both of the hardware tasks. The canopy works well so far, but full testing wont happen till that wet flox is added for strength. Stay tuned!