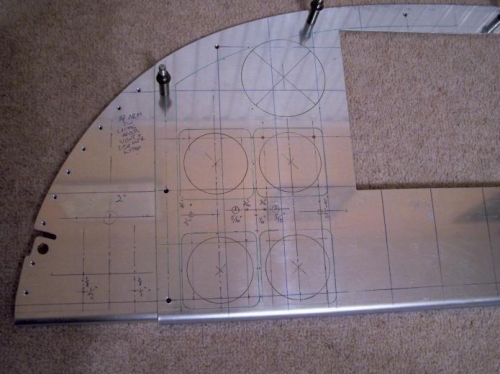
After making out the main parallel lines on the panel I drew all the instrument holes and ther screw positiions to ensure everything would fit - hate surprises!
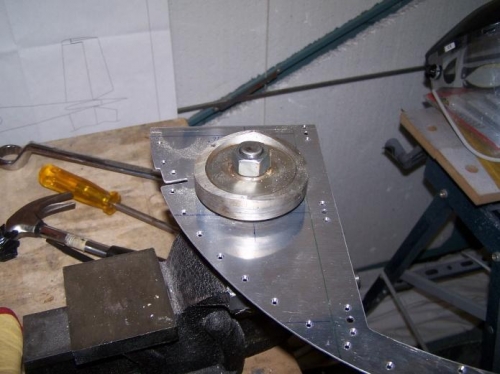
I then hired two Avery tools from Gloster Air Parts - worth it because as in most cases having the right tools makes the job so much easier.:
First the hole cutter - its more of a punch than a cutter. You drill a pilot hole, then select the punches for the hole size then clamp the bolt head in the vice and tighten the nut. As the panel is on the limit for single attempt at a punch (1/16") I moved the punch 30 degrees and then re-tightened and eventulaly you hear the ping of the final cut.
I used a drum sanding to smooth and slightly enlage some of the holes (not every instrument fitted the "standard" holes!)
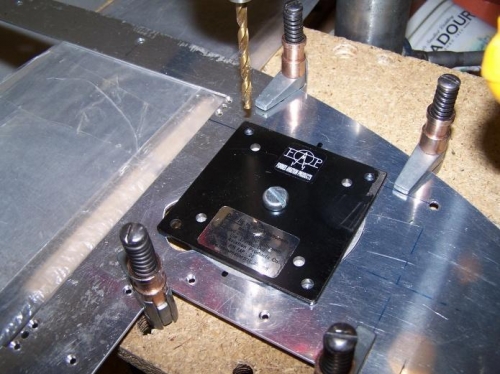
The drill hole jig is made of mild steel. Note you will need a #16 drill (0.177")