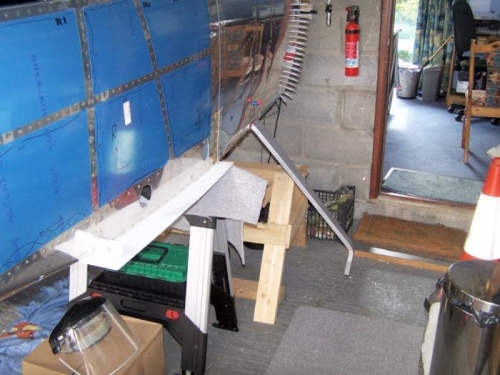
Raised the fuselage and this was the order that worked for Robin and I.
1. Check bolts will fit through all holes - ream if necessary once established correct orientation of wear plates if not marked in previous drilling session! 2. Fit inboard and outboard wear plates loosely with their respective bolts and nuts (check you can get a socket on the NAS head as you will probably have to torque from that end - we had to trim skin slightly). 3. Insert gear leg and AN7 bolt and nut. 4. Nipped up (not torqued) inboard bolts. 5. Fitted NAS bolts - we tried torquing from inside but coudn't get room for torque wrench (vent fitting in way above aft nut gave wrong angle) - we did get a short socket on though eventually [On right gear had to reverse one of the aft outboard bolt at the base of the gear tower]) - so torqued head side in increments as per plans. 6. Thankfully we had > 0.030" gap on the wear plate so did not have to remove everything to machine the face - phew!
Tested our patience with the lack of space in the gear tower - will be interesting to do this at 10 hrs, 50 hrs and anually!
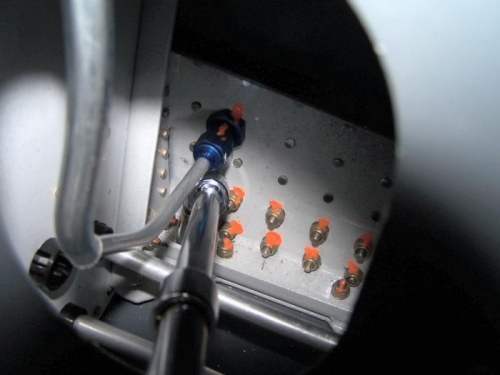
Yes I know my inspection seal is a bit heavy handed but when you get to this stage you'll realise how little room there is in those gear towers!