Started the Firewall assembly. First chore is to take some ¾” x.058x 1” raw stock to make two 1” reducers and one 4” splice. The 2 reducers go on top stubs on the s1 vertical former, you use the 4” spice to guess what splice the two top s-1 formers, then you install those on the 2 stubs with the reducers on them . Make sure the whole setup measures 26 7/8 from bottom s1 formers to the newly made top s1 top former.
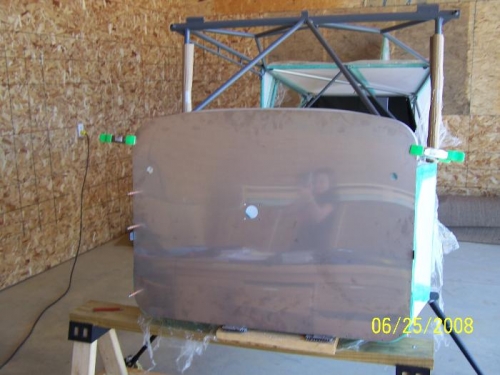
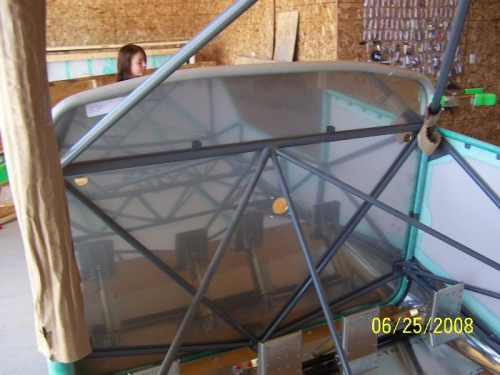
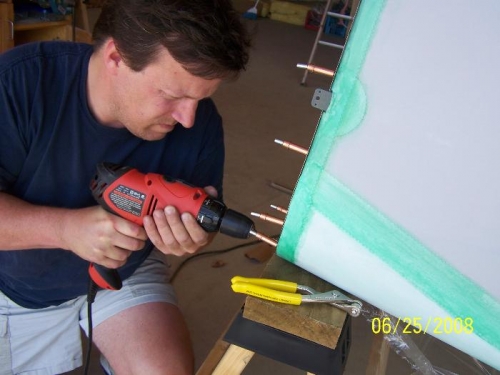
The next step took a little time. You take the firewall and clamp it to the forward side of S1. With the quick build having fabric on already the only area to clamp is the top, which will not hold the firewall alone. I just got some rubber blocks that hold bits and put them on the saw horse right under the firewall which lifted the firewall in to the perfect position. You want the predrilled holes roughly on the center of the formers, and it will be rough, not perfect. This is what took me the time I just checked and rechecked the measurements making sure all the holes where as close as possible to the centerline. When I figured they weren’t going to get any better it was drilling time. Drill the holes to # 30 using the holes as a guide cleco and your all set, the top gets done in a later stage when you install the windshield deck and cowling. I’m actually quite happy on how this came out . Quick drill of the bushing holes where the engine mount will go and called it a day. Want to study a little more on the equipment placement and required holes, taking my time, really no rush on this step. I might just wait till I actually need to install all the items on the firewall to make the holes.