Brief Description: Started work on the Left Wing Leading Edge
Started work on the Left Wing Leading Edge.
Took the abrasive wheel to the leading edges of the ribs to remove any protrusions that occurred during the forming of the ribs.
Dimpled the #40 flange holes on the ribs. Dimpled the #40 holes of the W-1008-L for nutplates that will be part of the stall warning installation.
Cut and deburred the W-00008 L/R J-Channel stiiffener bars. Marked the 5/15" centerline on the Stiffeners and drilled a #40 hole in the outboard ends of the L/R Stiffeners.
Removed the W-1019 L/RSlice Strips from the T-00001 L/R Tank Skins using a Dremel Cutting Wheel. Filed the edges of the Tank Skins and the W-1019 L/R Splice Strips smooth removing the remaining tab material.
Dimpled the Slice Strips #19 holes for #8 screws. Dimpled the #40 holes of the strips.
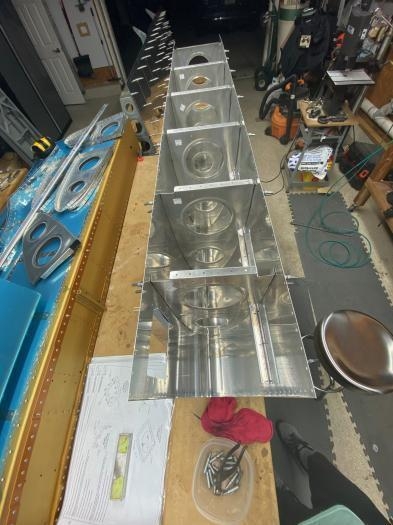
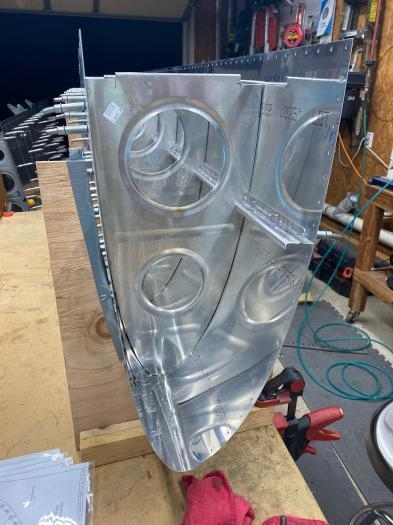
Installed the ribs in the Left Leading Edge Skin W-00001-L. Made sure the skins fit tight to the ribs, particularly the leading edge area. Drilled the aft most holes of the ribs to #40.
Inserted the W-00008-L Stiffener and match drilled to the W-00001-L Skin holes.