Brief Description: The tool is ready - let's torque
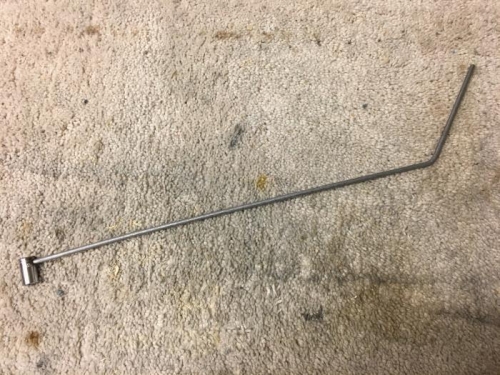
With the new tool, I was ready to torque the rest of the bolts/nuts. For good measure – literally, since I was using the newer tool, I lined up on the first nut and then marked my one inch increments for the #2 - #4 nuts on the tool. I also put a bend in it to increase the wiggle factor and so that it would sit down inside the saddle. Since these are 3A bolts, they should be torqued to 28 inch/lbs with the nylock nuts...plus the drag torque of the nylocks adds another 14 inch/lbs on average so I went with 42 inch/lbs.
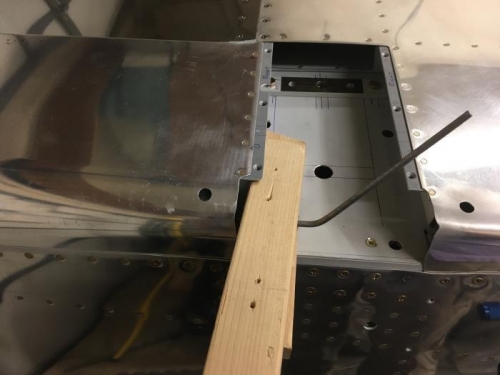
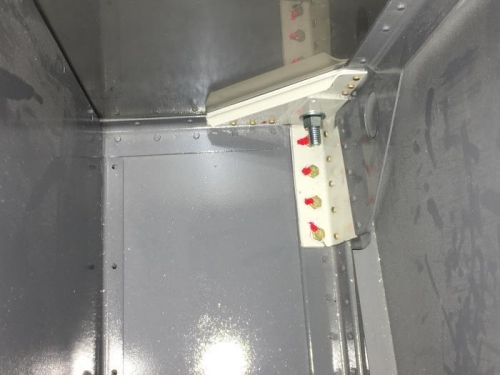
It took some getting used to and some touch and feel to know when I was on a nut or almost on it. I also had to develop a way to hold the nut-torquer V2.0 (NT2.0) in position as this was a solo operation. I used two sticks of wood and it worked like a charm. The other unexpected part was how difficult it was to remove the socket from the newly torqued nut. I developed a certain side to side and up-down wiggle that would loosen it up a bit, and then I could slide the one stick of wood inside the cavern under the 3/16” rod and it would pop the socket off the nut. I had also inserted a screw in one end so that I could fish it out of the cavern with a magnet. The nuts closest to the firewall were trickier as the skin curves more towards the front of the airplane and there is less room up front. I also had to loosen the rotisserie mount nuts to allow room for the torque wrench/socket to get on that last nut (on each side).
With all 8 nuts/bolts torqued to 42, I breathed a sigh and was glad that job was behind me!