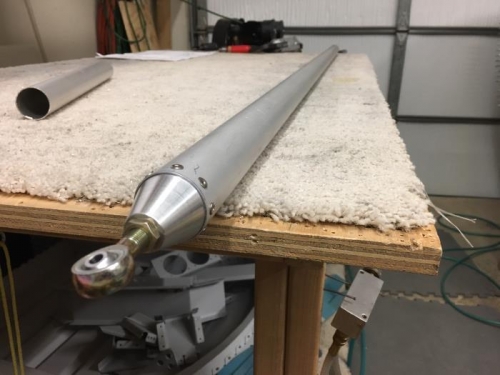
I cut the pushrod to 67 21/32” as instructed – I cut it by hand as I was worried about getting an imprecise cut on the band saw with so much pushrod hanging off the work surface. Besides, I only have a throat opening of 9” so I would have to pre-cut part of the pushrod first just to be able to get the next/final cut in there. I took my time and it came out good. I deburred the inside and outside edges of the newly cut pushrod. Next I marked the 8 places were the rivets get pulled. I used a piece of paper and folded it 3 times to get the proper spacing for the 8 rivets.
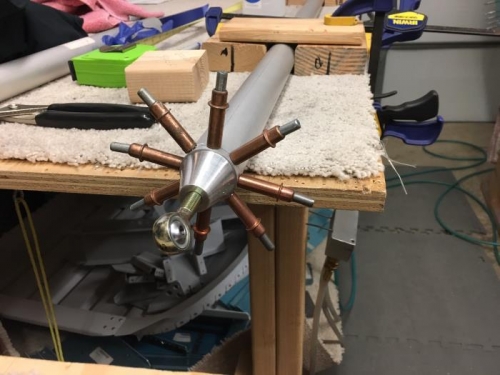
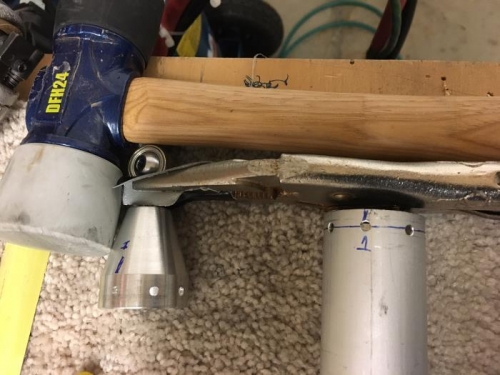
The next part was more difficult – Inserting the VA-101 threaded rod ends in to the ends of the pushrod. It got easier when I realized I could bang the threaded rod end on a piece of wood to urge it into position. Once in position, I #30 drilled the eight holes on each end. Then the tough part – pulling out the threaded rod ends… I tried a couple of different methods until I found the one that worked best – which was using the vice pliers (with the jaws protected with tape) to clamp onto the temporarily installed rod end bearing – and tapping it with a soft blow hammer until it came out. I deburred the just drilled holes in the pushrods and the threaded rod ends. I then cleaned out the interior of the pushrod tube by pulling a small cloth wetted with lacquer thinner – I pulled it thru a couple times each way and it did a good job. Then I reinserted the threaded rod ends and blind riveted them in place.