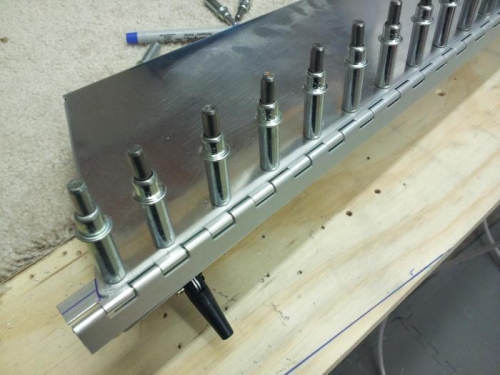
Got a lot of good work in tonight... drilled the trim side of the hinge! It appears to have come out as hoped...as I followed the directions of a VAF members KMinor and DaAV8R who had tips on how to make the hinge drilling work without a hitch! They responded to a question my Georgia RV-8 buddy Philip asked - Thanks Philip. Philip is slightly ahead of me in his build so he is out front, clearing the minefield of empennage issues. (See below for builder help on these issues)
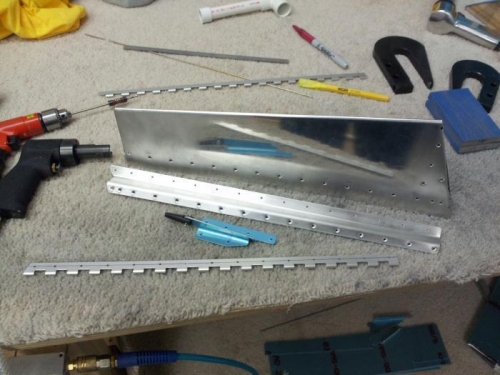
After getting the hinge drilled, I final drilled the rest of the skin to skeleton holes. I trimmed the inboard hinge to match the skin and dimpled the bottom flange of the spar and countersunk the top. Deburred and edge cleaned all parts except the trim tab horns... a good day in the shop!
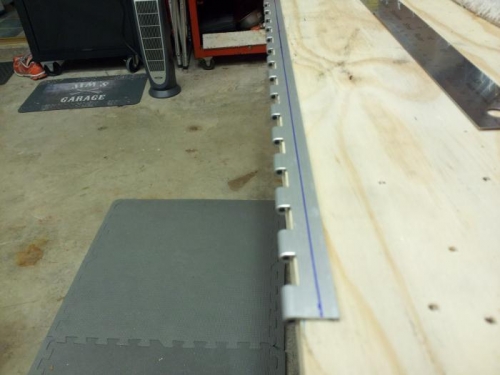
KMinor's tip: "I don't have the plans in front of me, but I started with the trim tab. I seem to remember using a measurement off the plans that show where the hinge should terminate on the outboard side of the trim tab. I measured that distance and marked a line. I then measured 6/32 from the straight side of the hinge at several points along that half of the hinge. I drew a line through all those so that I had a 6/32 line (from the straight side) all the way down the hinge. I clamped the hinge half on the tab with the edge of the hinge at the terminating line that I had drawn. With my 6/32 line on the hinge centered in the holes of the trim tab and spar, I drilled and clecoed.
DaAV8R's tip: "The there are two plies which are pre-punched and the hinge is not. To keep the two pre-punched plies in correct alignment but allow the hinge to lay flat on against the bottom side I squeezed some number 3 rivets just enough that I had an interference fit in the hole. I inserted them with small vice grips thru both pre-punched holes in the skins until flush with the bottom ply. They held the skins in tight contact and alignment, yet allowed the hinge to lay flat on the bottom ply."