Brief Description: Canopy rail cover and inside gap fill
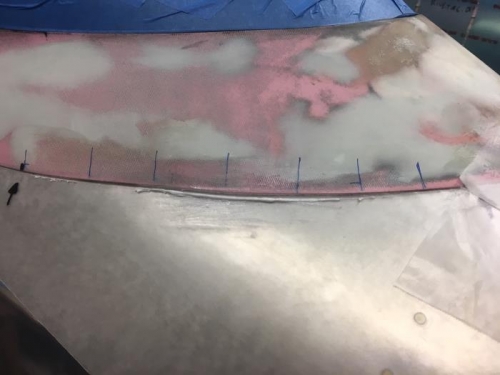
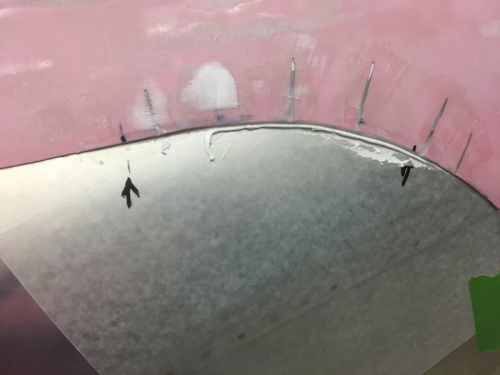
I pulled the canopy off the fuselage and refreshed the wax paper, then marked the area on the skirt that I wanted to fill in the gaps - then removed the canopy to the workbench. Since the interior of the skirt was already prepped for the fiberglass, It was ready for the resin/glass/bubble mix. Since there wasn't marked improvement after cutting the right side, I ldecided to leave the left side alone and just fill the gap without cutting the skirt. I mixed up a batch of resin and glass/bubbles - It isn't a structural component, but I mixed in a bit of glass to the bubble and resin.
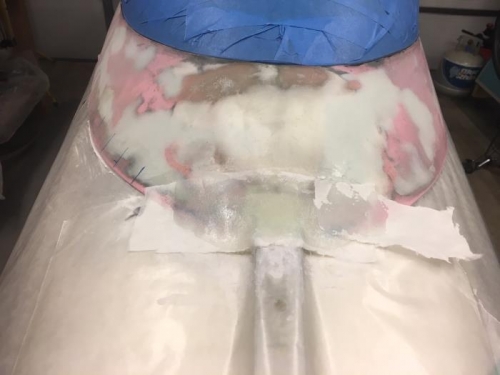
After mixing it to the proper (thick) consistency, I spread it on the inside of the canopy skirt. After the goop was spread over the marked areas, I put the canopy back on the fuse, closed and latched it shut. I then mixed another batch of resin and glass, as this area is structural, and built up the area over the rail gap to thicken it. After shaping the curves to a aerodynamic and aesthetic precision (HAHA) I covered it with another layer of glass and then the dacron (peel ply)