
|

|
|
|
Jims RV-8
|
Date: 11-17-2021
|
Number of Hours: 2.50
|
Manual Reference:
|
Brief Description: Seat cushion dimensions - Part 1
|
|
With the planks cut, I set about the process of determining what how much "cushion" I wanted under me and behind my back. I decided early on that it didn't make a lot of sense to build in extra leg room with the tall pilot option, moving the seat back hinge back 1.5" to get the extra legroom, just to fill in that extra space with seat back cushion. Oregon Aero says that they typically use a compressed fit of 1" on the pilot seat back and that seems right for me too.
For the seat height adjustment, I started with 3" and went all the way up to 5". The way to properly test the fit is to sit on the planks (bottom and back) with the headset on and the canopy closed and confirm the headset doesn't contact the canopy. I was initially planning for about 2" of clearance between the top of the headset and the bottom of the canopy, just for some extra wiggle room.
After a lot of garage flying and looking all around front, side and back - as in real flight, I am pretty happy with the 4" up and 1" forward for the pilot. I also had Teresa get in the back and do the same thing, canopy closed and headset on. She also arrived at 4"/1" dimension although she could have gone much higher, but taller people in the rear seat would be limited, so 4/1 should be a good compromise. I can also get a booster seat for smaller children; in case I give rides in the future.
|
|
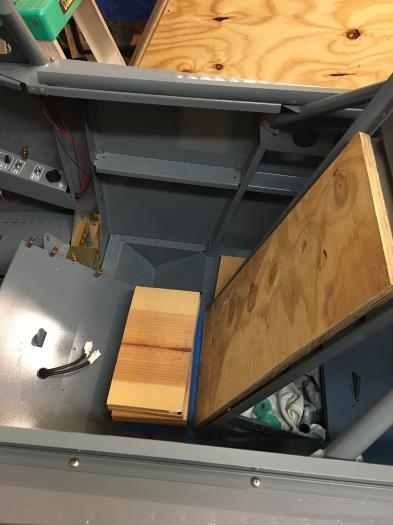
planks in position
|
|
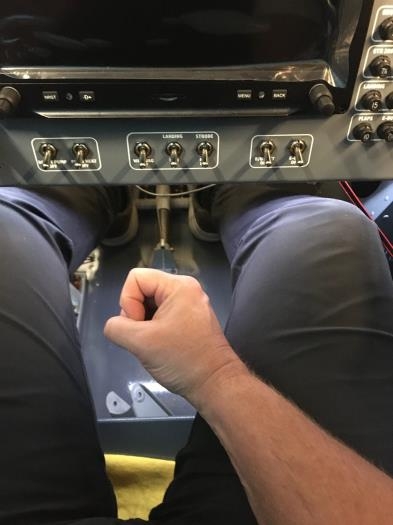
imaginary stick location
|
|
|
|
|
|
|
|
|
Copyright © 2001-2024 Matronics. All Rights Reserved.
|