
|

|
|
|
Jims RV-8
|
Date: 8-1-2020
|
Number of Hours: 1.50
|
Manual Reference:
|
Brief Description: 3. SB 16-03-28 - Drill out rivets - Left
|
|
I determined that I need to hand drill the rivets and hand drive them too (except one). So I practiced drilling out and setting rivets with the same tools I would need to use for real. I had two different blanks, the first was 4 sheets that I riveted together and drilled apart, and the other was more true to form with an angle and two sheets – that one was only 3 holes, but I set and drilled the same three holes, 3 times.
I re-read the Service Bulletin one more time and then drilled out the last 3 practice rivets in preparation for the real thing. I took a lunch break, said a prayer, and then began. Following the instructions, I double punch the rivet center hole, drill the rivet to the depth of the angle with a #40 bit, then drill to the depth of the rivet head with a #30, snap the rivet head off, then drive out the remaining part of the rivet. I went real slow and used my 5x glasses to make sure I was punching the center holes, drilling in the center, etc. I was only turning the #30 drill bit maybe 30-60 rpm just watching it shave off a sliver of aluminum with each turn. I am very happy with the way they turned out! Success!
Next I cut the doublers down with a 45 degree cut on the bottom side as this will allow me to get a bucking bar in to rivet the bottom skin on. I then primed the doublers and took another break.
|
|
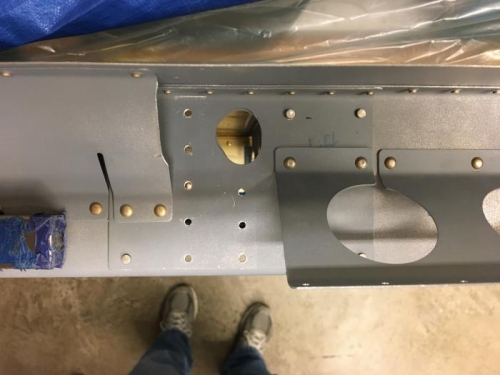
All drilled out! Halfway there on this side
|
|
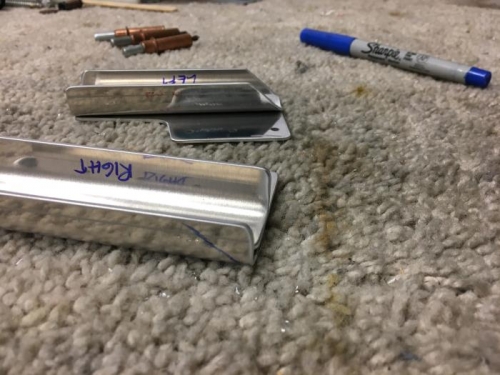
Modifying the doublers
|
|
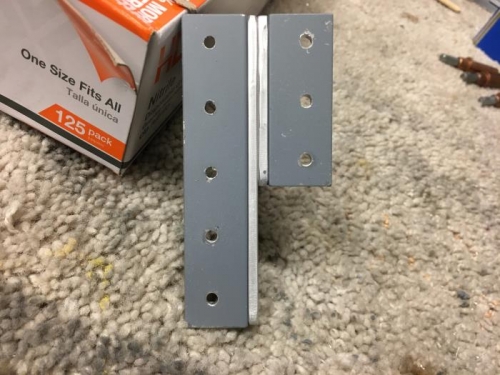
Aileron Hinge Bracket was primered on the contact surface
|
|
|
|
|
|
|
|
|
Copyright © 2001-2024 Matronics. All Rights Reserved.
|