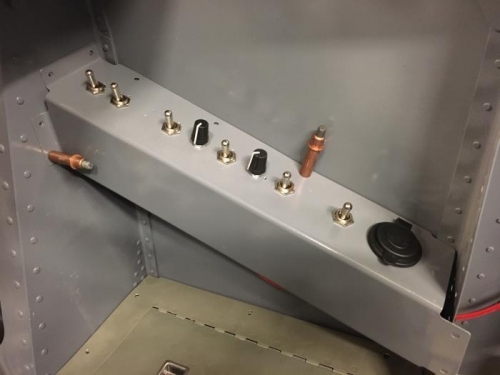
Brief Description: Right console panel hole drilling and installing
Took my time and drilled the 6 switch holes and the 2 rheostat holes. I decided on the position and the locations for grouping and ease of touch recognition. The layout is as follows from the top down :
1. Smoke system engage switch (OFF-ON) 2. Defrost fan switch (OFF-ON)
I started at the front of the aircraft and put the smoke engage and defrost fan in first, with a space before the lights/dimmers in front to back order too. Then another space before the baggage light switch which I should be able to reach from outside of the airplane. Currently, the switches and rheos are not wired.