
|

|
|
|
Jims RV-8
|
Date: 12-19-2019
|
Number of Hours: 2.00
|
Manual Reference:
|
Brief Description: More cockpit lighting work
|
|
The way these LED cockpit lights work, they provide you with one long strand of the lights and then you cut them to fit as needed. Only one end is set up with the pos/neg wires, but they are made to be cut at 2” increments and then you can re-wire the remaining cut portions for more lights elsewhere. Since I will end up with 5 different cuts in the White lights, I wanted to test out the re-wiring procedure on a spare section of lights. Since I have excess RED lights, I cut 4” off the end and using the hot soldier iron tip, melted the rubber covering at one end to expose the bare pos/neg wires. I had also ordered some premade terminals that I plan to use to wire up the cut strands. Testing these terminals and the wire process was a success and the process seems to result in a durable and solid contact that should work well.
I then spent time re-measuring and trying to figure out a way of using less white lighting to see if I could make due with what I have in stock. But, no dice, not going to be able to get by with one strand. Next on the list was thinking about the wiring runs between the rheostats, switches, power and ground and where I would be running/hiding the wires. The aft section of the fuselage is complete so no future planning there, except for other wire runs that will go to the ELT, the auto-pilot servo, elevator trim and the tail light. The front of the fuse is still open and the front top skin will still need to be riveted on when the avionics have been wired. So, I am thinking about the avionics boxes and what will need to go where…so I guess it is time to make my remote boxes…
|
|

rubber melting workspace
|
|
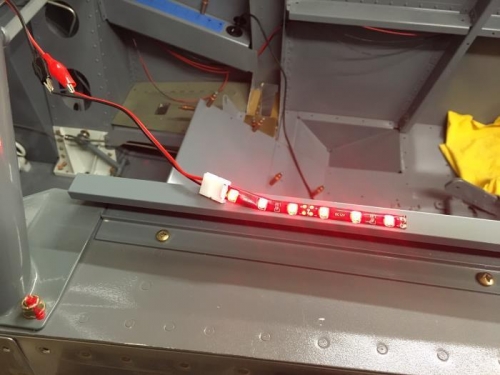
6 light test project
|
|
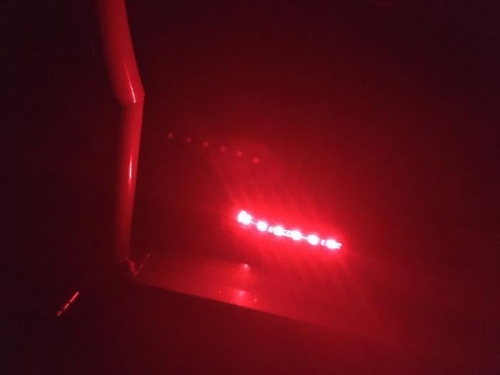
night ops test
|
|
|
|
|
|
|
|
|
Copyright © 2001-2024 Matronics. All Rights Reserved.
|