Brief Description: More sanding / Fill in the old holes
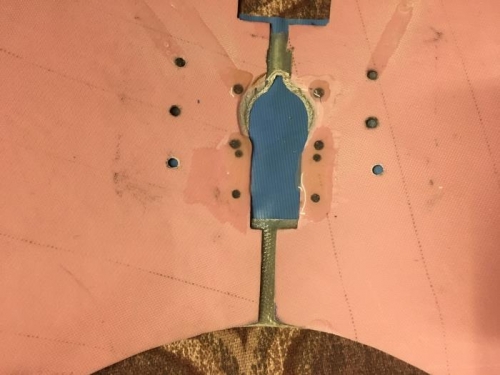
Most of the shop time was spent on iterations of installing the canopy skirt with clecos in every other hole, marking the positions of contact between the push/pull and the skirt, then removing the skirt to sand it from the inside. The push/pull is spring loaded and should return to "flush" with the canopy skirt - if I can get to that precision. The idea is that it just looks like part of the skirt until you push it. But to do that I need to remove all but just a little lip so that the push/pull will be flush.
After working on the flush fit for a while, I felt like I could get a better fit on the push / pull by moving the holes up a little. This would also change the fit because the push/pull would be on top of the skirt. Let's try. Before moving the holes (re-drilling them), I needed to fill in the old holes, as the current holes needed to move just a little. I didn’t want to mix a full pump of both resin and hardener, so I opted to use the T-88 adhesive to fill the holes. The T-88 is mixed at 0.83 : 1 and I ended up with much more than I needed – but it did the job.
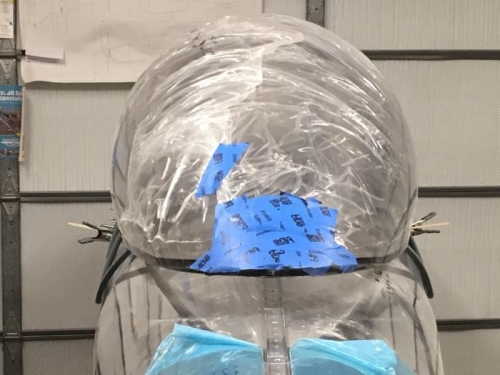
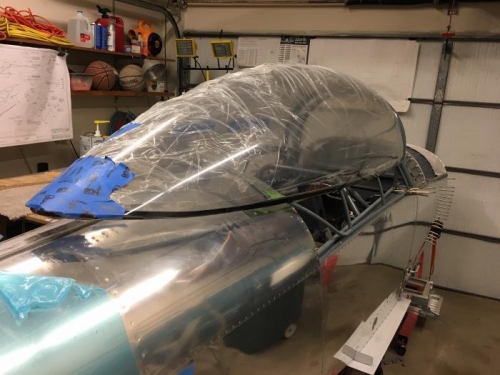
While I have the picture space - I will show you the method I use to install/remove the canopy skirt by myself - since I work alone most of the time. I clamp a tongue depressor to the front of each side of the canopy frame (wings). This allows me to set the canopy skirt in place and then I can cleco it in place while it sits there. If not, the long and gangly (u-shaped) canopy skirt is impossible to install/remove by yourself becasue it will just fall down on one side while you work on the other side - and it might break.