
|

|
|
|
Jims RV-8
|
Date: 9-7-2017
|
Number of Hours: 3.70
|
Manual Reference: 9-3
|
Brief Description: Canopy cutting and sanding #6 (BC!)
|
|
Made the big cut tonight! The way it shook out was like this :
1. Measure, mark, inspect, repeat, repeat, repeat, etc., etc.... 2.0 hours
2. Cut up from the left, then up from the right ...... 0.1
3. Re-tape, sand, sand, sand, and smooth....... 1.6 hours
Step one was all about making sure the canopy was looking right, in the right orientation, that the aft end was in the correct position and making sure the front was in the correct position. I put the spacers back on the frame and bow so that they were on the top but not touching the cardboard template. I also marked the next cut on the sides in black, see pic #2. I will sneak up on those lines as the orientation of the canopy will change as the side cuts are made and the canopy is pulled in on the sides to the frame. I wanted to set myself up for the side cuts that will finalize the fit. More looking at the general look of how the canopy sits on top, front, back, sides – and then I taped it down so that it didn’t move while I cut it.
Step two was just a cut and a cut and it was done. I did have a little wave up on top, but I was able to sand that out. It's not perfectly straight but the entire cut will be covered in a fiberglass fairing so it's ok.
Step three was about pulling back the protective cover and retaping - and then lots of sanding and smoothing. Glad that is behind me but I still have a long way to go to finish fitting the canopy with more cuts.
|
|
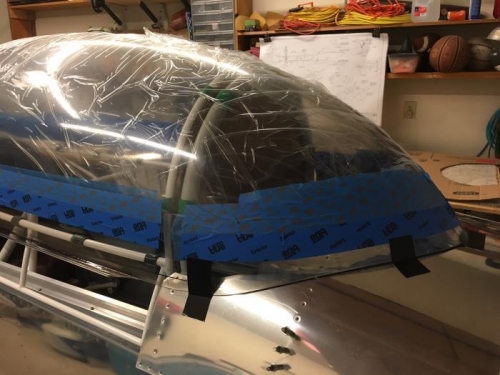
Just before the big cut
|
|
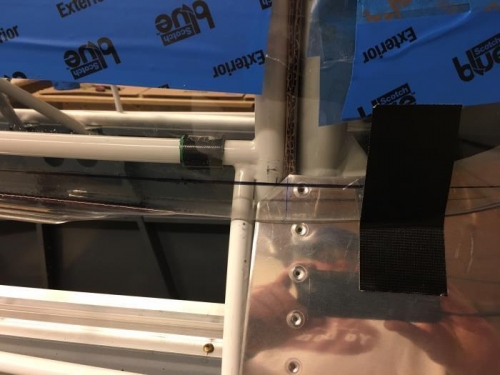
side measure and marking
|
|
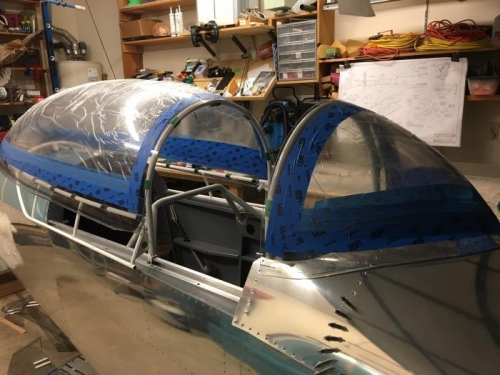
cut and sanded!
|
|
|
|
|
|
|
|
|
Copyright © 2001-2024 Matronics. All Rights Reserved.
|