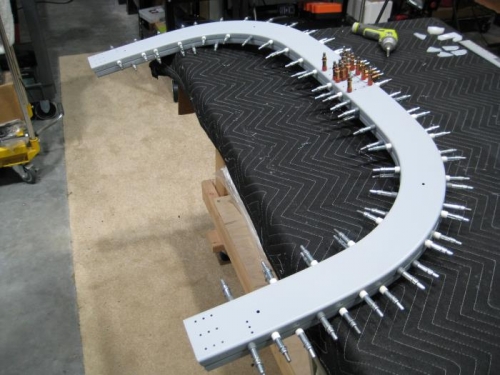
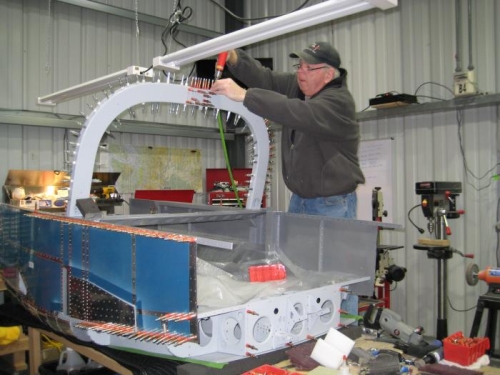
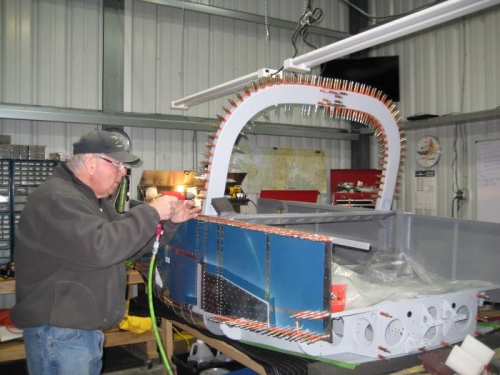
Step 1: Studied Figure 2 to determine the forward edge, top, and bottom of the F-1231B & C, the ends are beveled to accommodate the tilt of the roll bar. Ran the F-1231B & C back and forth over the edge of a table to add a curvature to the parts being careful not to let the parts kink across the rivet holes. Deburred the edges of all parts used to create the Roll Bar Assembly. Clecoed all of the parts of the Roll Bar Assembly together as shown in Figure 2. Step 4: Clecoed the Roll Bar Assembly to the forward face of the F-1231D's as shown in Figure 1. Tapped the forward face of the roll bar assembly near the clecos to ensure the Roll Bar Assembly was fully seated against the F-1231D's Step 5: Final-Drilled #30 all #40 holes in the flanges of the F-1231A-FL, -FR, -AL & -AR and F-1231B & C. Step 6: Match-Drilled #30 the three holes of the C-01213A through the F-1231A-FR & -FL and underlying F-1231E per the detailed view of Figure 2.