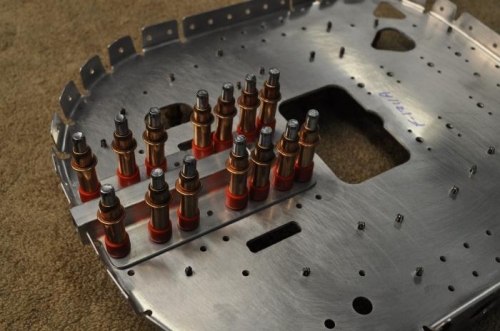
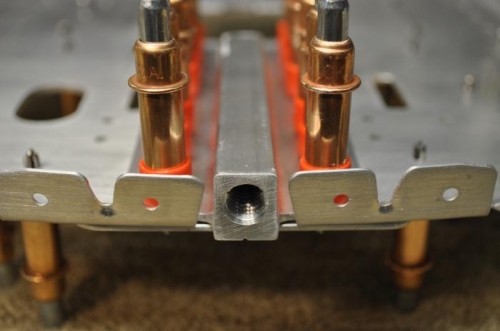
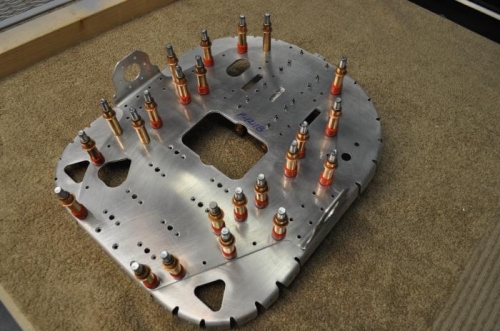
Completed step 6 page 10-04 – drilled out 8 nutplate screw holes to #12. Completed step 2 page 10-03 – removed tabs from F-1211B bulkhead doubler and deburred edges and holes on part. Completed step 3 page 10-03 – machine countersink holes in F-1211B bulkhead doubler as called out in Figure 2. Completed step 4 – separated the F-1211D attach brackets and deburred edges. Completed step 5 – page 10-03 separated F-1284 L&R shear clips and deburred edges. Completed step 6 – separated the F-1211C L&R and marked and deburred edges. Completed step 7 page 10-03 – marked then separated F-1283, A,B, C. Deburred edges and readied for primer. Completed step 2 page 10-04 fluted the F-1211A fuse bulkhead – cleaned up edges on part and readied for primer. Completed step 1 page 10-03 – Fabircated the F-1211G tail skid bracket per Figure 1. Completed step 3 page 10-04 – clecoed F-1211B bulkhead doubler to the F-1211A fuselage bulkhead per Figure 2. Completed step 4 page 10-04 – clecoed tailskid bracket to F-1211A fuselage bulkhead per Figure 2 – added additional clamping. Completed step 5 – match drilled #30 holes on F-1211B bulkhead doubler into F-1211G tailskid bracket then removed bracket and deburred the holes. Completed step 6 page 10-04 – final drilled #12 the nutplate screw holes as called out in Figure 2. Primed all frames and bulkheads including all attach brackets, tailskid bracket and misc items ready for prime.