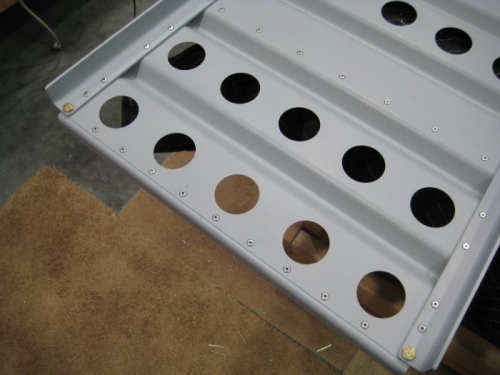
Completed step 4 – page 26-03 - Clecoed the F-1237B Upper, F1237D Lower, and F-1237C-L & -R Seatback Angles to the F-1237A Seatback as shown in Figure 3 & 4. Final-Drilled #12 the hole in each lower corner common to the left or right AND the lower seatback angles and seatback called out in Figure 4. Disassemble and deburred. Made an error and drilled the upper corners #12. Assume this will not be an issue but will confirm with Van’s. I will make both the same assuming that they approve. Completed step 5 - Riveted the F-1237B Upper Seatback Angle to the top row of holes in the F-1237A Seatback per call-out in Figure 3. Set the manufactured heads on the seatback. Left open the first hole at both ends of the upper seatback angle. Completed step 6 - Riveted the F-1237F Fwd Seatback Brace Hinge to the F-1237A Seatback using the rivets called out in Figure 3. Set the manufactured heads on the seatback. Completed step 7 - Riveted the F-1237D Lower Seatback Angle and the F-1237H Seatback Hinge to the F-1237A Seatback per call-out in Figure 3. Set the manufactured heads on the seatback hinge. Left open the first hole at both ends of the lower seatback angle. Completed step 8 - Riveted the F-1237C-L & -R Seatback Angles to the F-1237A Seatback using the rivets called out in Figure 4. In each lower corner hole used hardware called out in Figure 4. Set the manufactured heads on the seatback angles. I used the same hardware in the upper corners as well due to my error drilling those holes out so I have the AN3-4 bolt in all 4 corners.