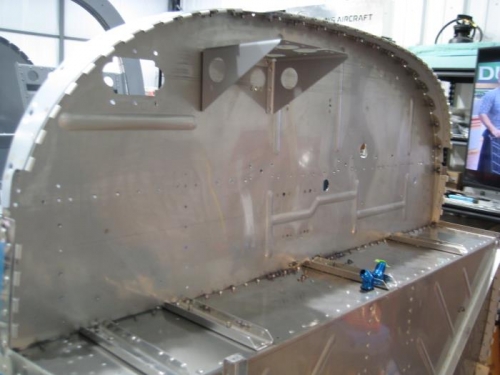
Step 1: Smeared a thin layer of fuel tank sealant on the upper surface of the bottom flange of the F-01201A-1. Step 2: Riveted the Upper Firewall Assembly to the fuselage as shown in Figure 1. Step 3: Match-Drilled #40 the F-12116-L-1 & -R-1 to the F-1201P-L & -R and F-01270-L-1 & -R-1 as shown in the detail view in Figure 1. Deburred. Step 4: Riveted the F-12116-L-1 & -R-1 to the F-1201P-L & -R and F-01270-L-1 & -R-1 as shown in Figure 1. Placed the manufactured heads of the rivets on the outboard side of the F-01270-L-1 & -R-1.
Step 6: Applied a bead of fuel tank sealant to the underside of the F-01201B-1 where the F-01201B-1 met the fuselage side skins. Step 7: Riveted the F-1202N-L-1 & -R-1 to the F-1270-L-1 & -R-1 per Figure 1. Step 8: Riveted the F-1295-L & -R to the F-1270-L-1 & -R-1, and F-01201B-1 per Figure 1. Step 9: Sealed the firewall with fuel tank sealant: applied a bead of fuel tank sealant around the perimeter of the F-01201A-1 and F-01201C-1 on the aft side of both. Step 10: Used a light on the forward side to verify that the firewall is fully sealed.