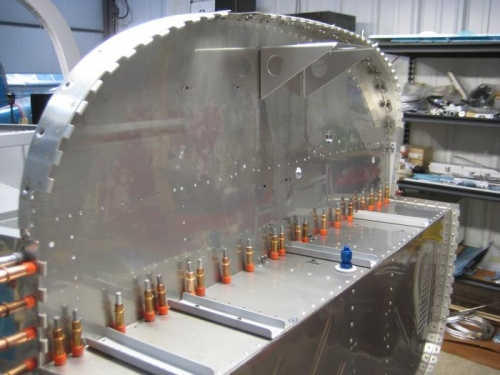
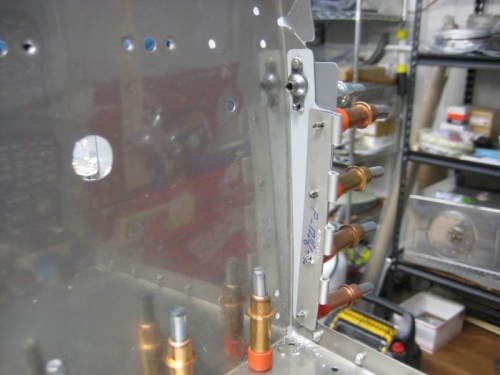
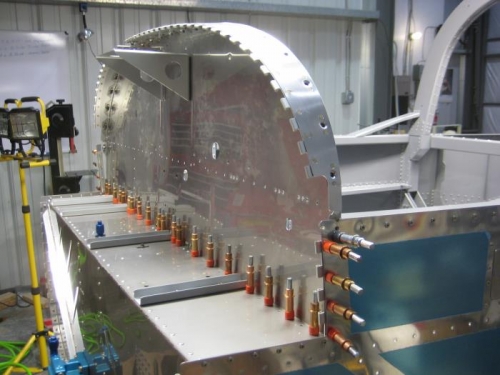
Brief Description: Upper Firewall fit and details/skin stiffeners
Fit the F-1201A firewall upper into position for final fit check prior to riveting and sealing. Completed step 2 page 29A-03 - Match-Drilled #30 the F-12116-L and F-12116-R Mid Cowl Hinges to the F-1201P Firewall Spacers and F-1270 Side Skins as shown in the Figure 1 detail. Deburred. Completed step 5 - Separated F-1202N-1 Fwd Skin Stiffener into F-1202N-1-L & -R and F-1295 Skin Stiffener into F-1295-L & -R as shown in Figure 2. Completed step 1 – page 29A-04 – Separated the F-00026 Instrument Stack angle into F-00026 L&R per Figure 1. Completed step 2 – machine countersunk all rivet holes for AN426AD3 rivets per Figure 2. Completed step 3 – Installed nutplates on F-00026 L&R per Figure 2. Completed step 4 - Separated the F-1202M Canopy Attach Doubler into left and right parts as shown in Figure 3. Completed step 5 - Separated the F-1201Q Battery Mount Angle into left and right parts as shown in Figure 4. Completed step 6 - Machine countersunk the rivet holes in the F-1201Q-L & -R Battery Mount Angles and attached nutplates as shown in Figure 4. Primed all components