
|

|
|
|
Hans Marchners Web Site
|
Date: 12-13-2012
|
Number of Hours: 5.00
|
Manual Reference: Ch 10
|
Brief Description: Fin Assembly1
|
|
The fin seemed easiest to assemble and therefore best to start off with.
The manual, Chapter 10, was quite good and fairly easy to follow.
All pieces were very well cut and the deburring was quick and I used a standard file for the edges and a deburring tool for the holes.
Installation of the anchor nuts (MS21047-3 (2 pcs) on the forward longeron (SG008) with rivets A3 was easy but I made them wrong anyway because I misread the wording "slightly countersunked"and made them too shallow. No problems, the rivets were removed, the holes countersunked a bit deeper and new rivets installed resulting in reasonably flush headed rivets.
Also, took some time to understand how the spring attchment flange (SG005) should be oriented on the central rib (SG002) as the piece looks a bit different from the picture in the manual. Otherwise, everything went well and the skin was easy to install with clecos.
Everything was then disassembled, bar codes removed, pieces cleaned with aceton and all surfaces where metal meet metal coated with the ICP anticorrosion and then reassembled and riveted together.
However, as this Savannah will be registered as an amateur-built aircraft according to the CS-VLA rules the internal structure has to remain accessible for inspection before putting the skin on. Therefore, I will have to wait with the installation of the M4 rivnuts (914015M4) and the skin (SC007-5) until after the inspection.
It is amazing how well all holes on the skin matched the holes in the frame. Very high precision in the cut.
|
|
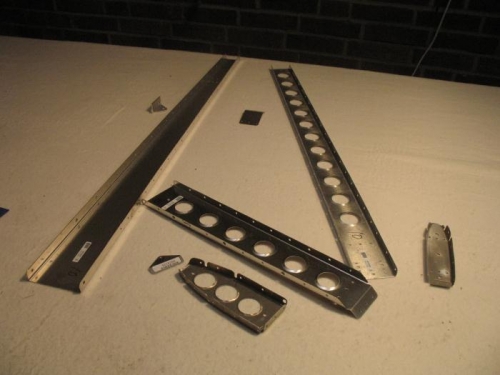
All parts cleaned and deburred
|
|
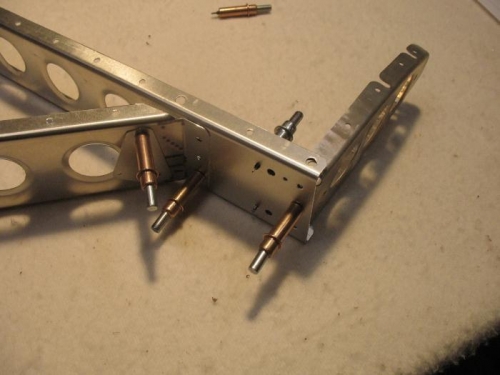
Lower parts clecoed
|
|
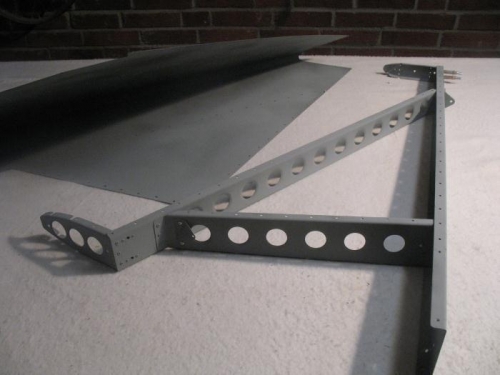
frame work complete
|
|
|
|
|
|
|
|
|
Copyright © 2001-2024 Matronics. All Rights Reserved.
|