
|

|
|
|
Keiths Web Site
|
Date: 11-3-2009
|
Number of Hours: 9.00
|
Manual Reference: P 24-05 Steps 2-3
|
Brief Description: Install the Baggage Bulkhead
|
|
Tim, my inspector, had threatened to come today, so I wanted to get the rear fuselage parts done if possible, so that he could see what I had done before I attached the tailcone, and made things harder to inspect.
Picture 1 shows the fuselage Skin Stiffeners riveted in place. This was a hangover from the side panel work on Page 23-06 Step 8. Another box ticked.
Picture 2 show the baggage bulkhead in place, so we are looking forward from the rear. The bulkhead is constructed of three panels, and a couple of frames. There's a number of nutplates to be attached. Stupidly, I clecoed the panels together and then did the nutplates. This just made life unnecessarily difficult. Next time (!!!) I'll rivet as many nutplates as possible before further assembly.
Picture 3 shows the same bulkhead from the front. As you can see, the surfaces visible from the cockpit are grey, while the other sides are just etch-primed. Interesting picture - it looks as though I have installed a pillar drill in the tailcone ;-)
|
|
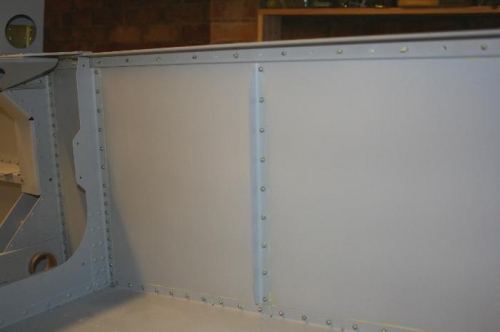
Skin Stiffeners
|
|
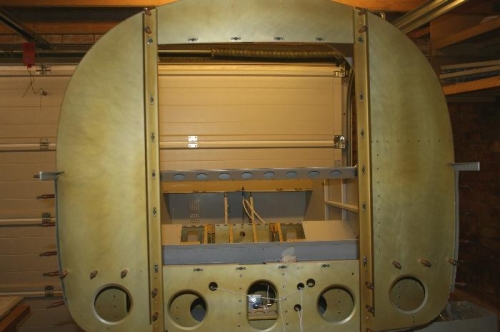
Baggage Bulkhead from rear
|
|

Baggage Bulkhead from front
|
|
|
|
|
|
|
|
|
Copyright © 2001-2024 Matronics. All Rights Reserved.
|