Brief Description: More work on the Centre Section Bulkheads
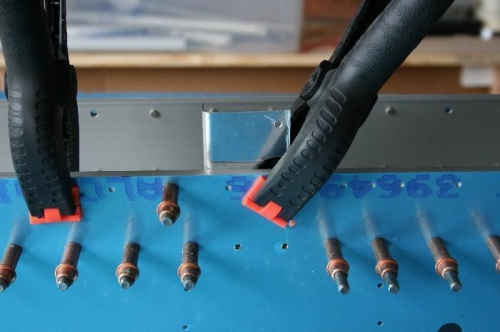
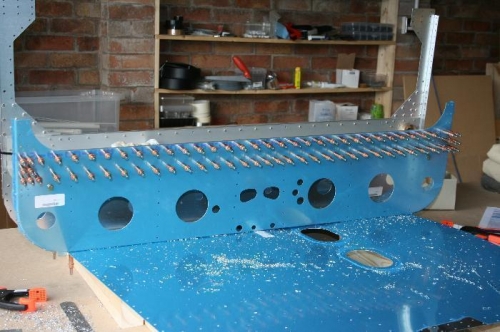
It's important to drill the holes into the thick c-channel at right angles to the surface so that the rivets will sit flat. This was easy enough on the bottom row of holes as you can see the reflection of the drill bit in the blue plasic. Keep the reflection and the drill alighned and the hole will be straight. However, the top row of holes present the problem of no reflection. I suppose I could have tried to turn the unit upside down. In the event, I clamped a scrap piece of aluminium directly above the hole to be drilled (see Picture 1). This acted as a mirror. As the drill broke through the back it pushed the scrap out of the way. This seemed to work fine. Picture 2 shows all holes drilled.
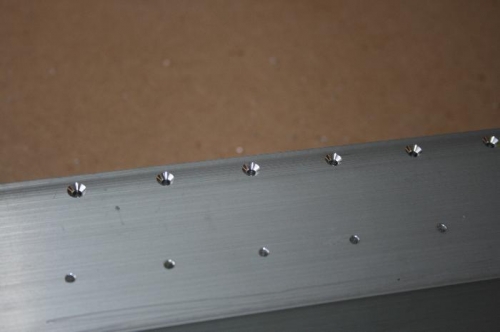
The final work for today was to countersink 13 holes to a depth that gave a 1/4 inch diameter hole. I used a drill gauge with a 1/4 hole to check these. See picture 3 for some of the holes.
Retrospective note: I suggest cleaning out the holes in the floor of the C-channel, after priming/painting if you do this. These holes are for the undercarriage attachment bolts. It's easier to ensure the bolts will fit before the C-channel disappears into the fuselage. The holes are for AN4, 5, and 6 bolts, so you need drills for 1/4, 5/16, and 3/8. I spun the drills by hand, just to clean off the paint I had sprayed on.