Brief Description: Attach brackets to flaperon spars
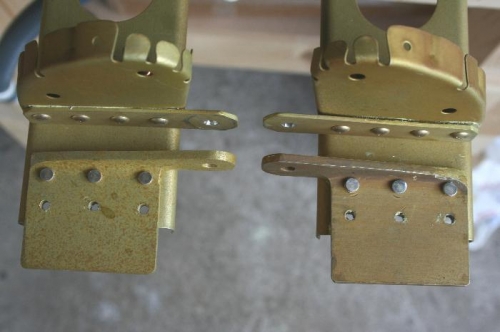
Here's my second attempt to attach the Actuation Brackets to the spars. This time I riveted the brackets from the back side. This means the machine heads (Picture 1) will be flat against the spar, and the shop heads (Picture 2) can mould themselves into the angle.
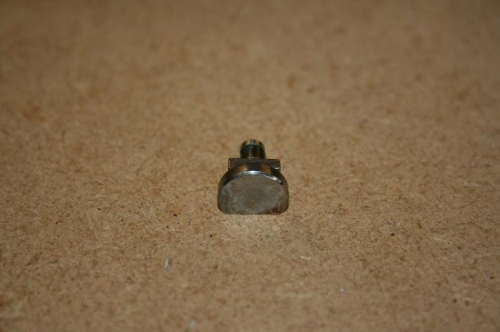
I had to use a squeezer die and a nut that I had ground down so that they fitted right up against angle. The nut was to provide additional height as the die that I ground down was a thin one. I'll try to remember to get a picture of this as it's not easy to explain. Anyway, hope Tim agrees that this attempt was successful. (Picture 3 added, to illustrate the modified die.)
The rest of the time was take up in match-drilling three of four remade Pivot Brackets then riveting them to the spars.
The remaining outstanding problem is the quality of the match-drilled holes in the outboard nose skins where I had drilled through into the stainless steel tubes (by hand). I need to discuss this with Tim.