
|

|
|
|
Keiths Web Site
|
Date: 11-3-2009
|
Number of Hours: 3.00
|
Manual Reference: P 10-10 Steps 7,10
|
Brief Description: Close tailcone
|
|
And so, finally, it's back to the tailcone. I had not rivetted the top skin in place so that Tim could inspect the tailcone. He had done this ages ago, I just had not got around to riveting the top in place. So today's the day.
With some difficulty, I got the tailcone down from the roof where it had been hanging, and got it onto trestles.
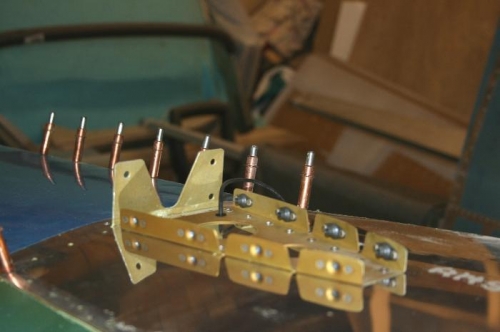
I drilled a 1/4 inch hole in the Forward Skin Rib, inserted a snap bushing, and fed the cable for the potential future tailcam up through it, prior to riveting the rib in place on the top skin. I'm not sure how I am going to carry this cable forward from the tailcone to the fuselage. There are a couple of snap bushings that I just installed on the baggage bulkhead, but they won't be for my tailcam! They are certainly too small for a wire with a plug on the end. That's a problem for another day.
Picture 1 shows the Rib. You can just see the wire in the back left corner.
Picture 2 shows the skin riveted in place. Plenty of work, but nothing challenging here.
We're finally ready to mate the tailcone to the fuselage. That will require some rearrangement in the garage, and probably additional help.
|
|
Forward Skin Rib
|
|
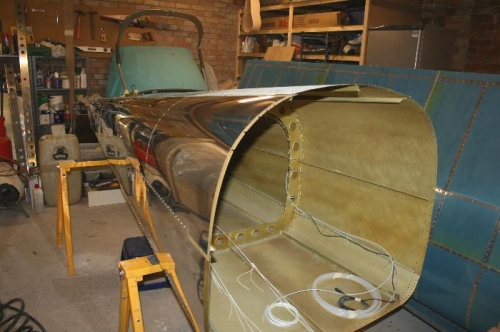
Top Skin Riveted
|
|
|
|
|
|
|
|
|
Copyright © 2001-2024 Matronics. All Rights Reserved.
|