
|

|
|
|
Greg's RV-9A Builder Site
|
Date: 2-19-2007
|
Number of Hours: 5.50
|
Manual Reference:
|
Brief Description: Finishing the tanks
|
|
After a marathon session that went past midnight, I finished the tanks. I riveted on the baffles after applying a bead of sealant to the tank skin, just forward of the rivet holes. At first, I put my bead too far from the rivet holes, and after placing the baffle on the tank, I could see that it wasn't going to seal like that, so I had to remove both baffles and reapply the sealant. I also put a bead on each end rib flange, and a thin smear on each rib flange. Then I cleco'd every hole, about 200 in each tank. Then I riveted on the skin. Then I riveted on each corner with a 470 rivet, squeezed. Then the pop rivets for the outboard baffle to rib rivets. Then the tank attach brackets with pop rivets, all swirled in sealant. Finally, the end rib tank attach brackets, the outboard ones could be squeezed, but the inboard rivets had to be bucked. It was messier than I thought it would be, primarily because I had to remove each baffle and so the stuff got everywhere. I'll be cleaning up the shop over the next 7 days while I wait for the proseal to cure, so I can leak test the tanks. In the mean time, I'll get my bottle of loctite 290 on order. Just in case I have some small leaks. I feel confident that there will be no leaks around the ribs, but the baffle is another story. It's tough to feel confident when you cant see the joint, which is inside the tank. I can only see a small portion of it, and from what I see, it looks fiine. Finally, I placed the tanks on their ends so that gravity may help the sealant get in the right corners.
|
|
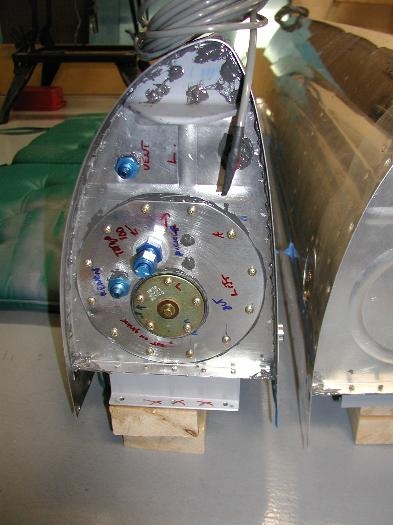
Sitting on 2x4's
|
|
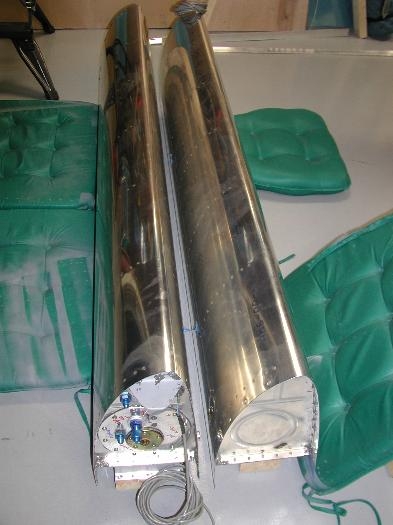
Pads just in case....
|
|
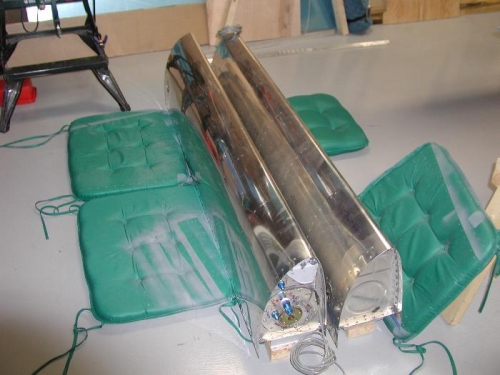
... they fall over
|
|
|
|
|
|
|
|
|
Copyright © 2001-2024 Matronics. All Rights Reserved.
|