Brief Description: Riveting Trailing Edge and Rolling Leading Edge
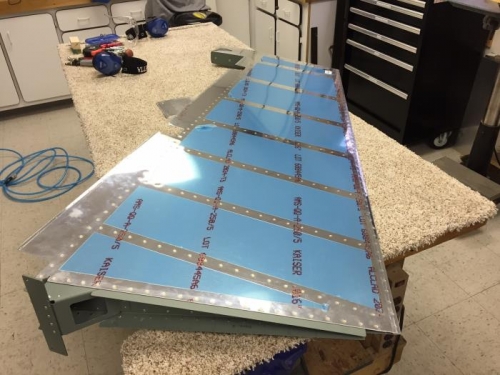
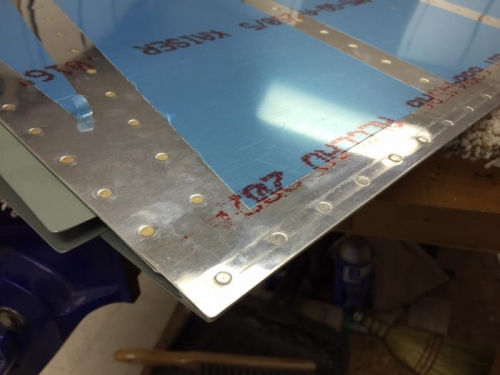
Brian and I riveted the trailing edge. The back rivet set was used to set the rivet. The air pressure was turned down to slow the gun down. As the rivets were set the gun was gradualy rotated so that the rivet was parallel to the skin, but not flattened completely. We started with a single rivet at the center of the rudder, than one rivet on each end. Rivets were then alternated between the previously set rivets. As we riveted we checked to ensure the trailing edge was straight. After all of the rivets were set, we switched to the mushroom rivet set and did the final flattening. The trailing edge was straight to within 0.025" over it's length.
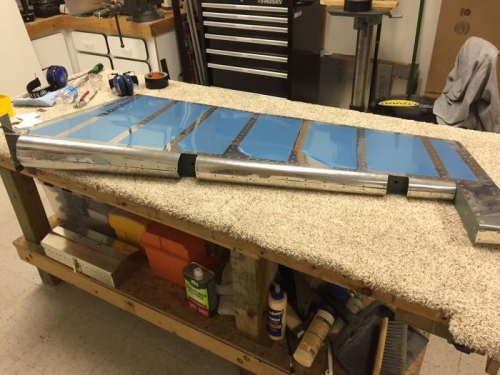
We then moved on to rolling the leading edge. We used gorilla tape and a 1" steel pipe. The pipe was taped to the skin along the whole edge. Brian held the pipe down tight while I used a pipe wrench to roll the skins. This got the skins in the general ballpark, but more hand work is required to get the skins into shape. When we cleco'd the holes, the shape didn't quite match the templates. More work is required before riveting.