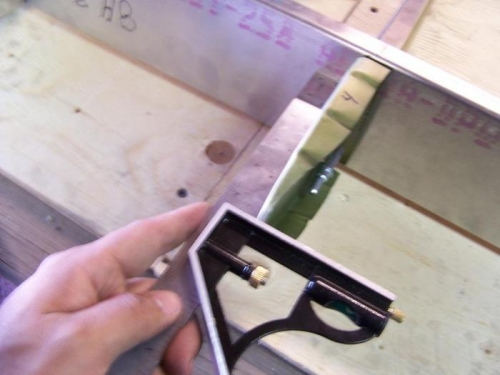
*Note: The prior session with the elevator end ribs was inappropriately measured. I double checked the assembly manual, double checked the tape measure and corrected the placement of the end ribs in accordance with the instructions. The "oops" left me with 4 holes #40 on my L-bracket that have no use. I contacted Zenair and talked with the tech rep. He said the holes will not affect the structural integrity of the elevator frame since they are so small and the edge spacing is within standards. However, I have opted to (sometime in the future) place doublers in that section just to increase the strength even though it may not be needed.
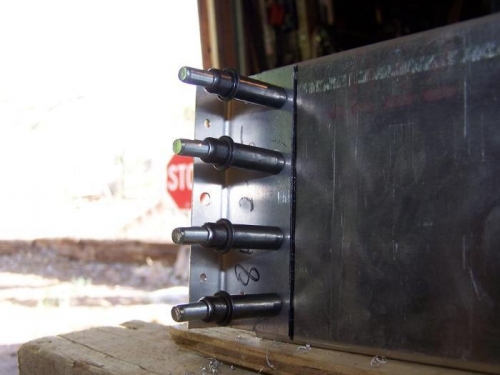
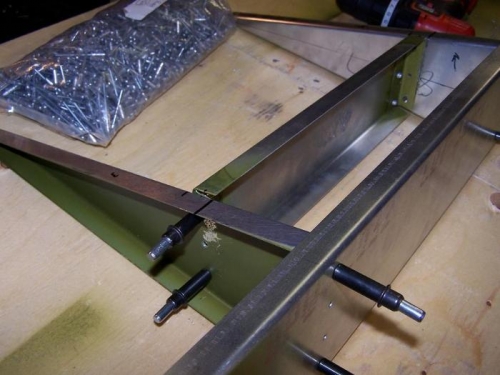
- Placed end ribs in position. Drilled all holes to this point to 5/32 and deburred. Applied corrosion protection to the end ribs, L-bracket and elevator hinge pin. Checked and confirmed nose rib and end rib depth in accordance with construction manual. Also, started the placement of the center reinforcement bracket