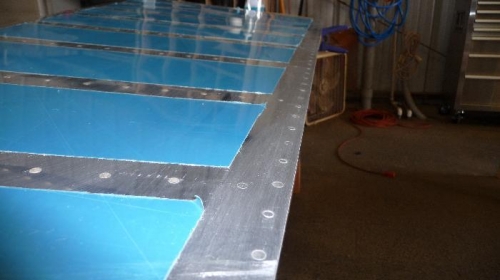
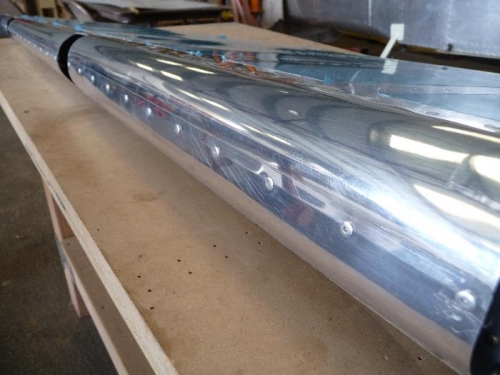
Removed the clecoes from the glued trailing edge. It was nice nd straight. So far, so good, now I just didn't want to introduce any warping by incorrectly riveting it. Using the number pattern I described before, I taped in the rivets on one side and I half-set the rivets with my backset. Then I finished off the rivets (using the same number pattern) with my flush set. Then I flipped it over, taped in the rivets from the other side and repeated the process. I went slow and after all was said and done, the edge was nice and straight and the rivets came out good too. Next we moved onto the leading edge. This was tougher than I thought to make "look" good. Played with it quite a bit to get the bend good and used an edge bending tool to get the parts to mate nicely. Actually pop riveted the edge together, didn't like it, drilled them out, re-finessed it to our satisfaction, and riveted again.